DIY Rustic Leather Handle Tray | This post brought to you by Tazo® Tea. The content and opinions expressed below are that of Southern Revivals.
 Today I’m celebrating my love of a warm cup of tea. My love of DIY. And my love of paying approximately $120 less for something because, instead of buying it, I made it myself. It’s possibly the easiest DIY you’ll do all year and it is absolutely perfect for the upcoming gift giving season. Here’s how to make your own Williams Sonoma Inspired DIY Rustic Leather Handle Tray for around $10 bucks!
 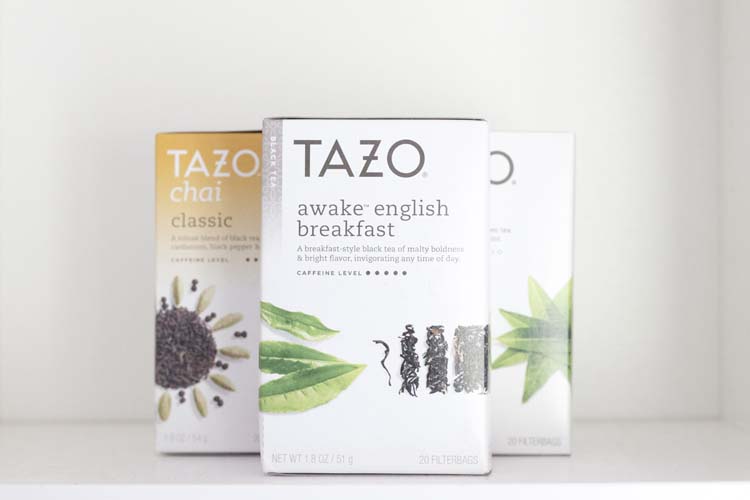 I remember being completely confused with one of the Harry Potter books because Dudley was going to tea at a friend’s house in the evening when he should have been going to dinner. And then I realized that tea at 6 pm is dinner and that the hobbits weren’t kidding about Elevensies, it’s tea at 11am. That’s when I realized, these were my people.
 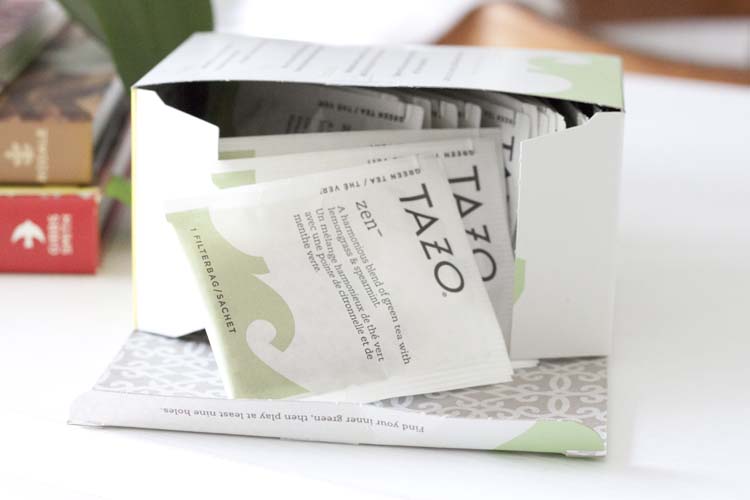 It doesn’t hurt that the Europeans firmly believe in the value of a holiday and not just at Christmas.
 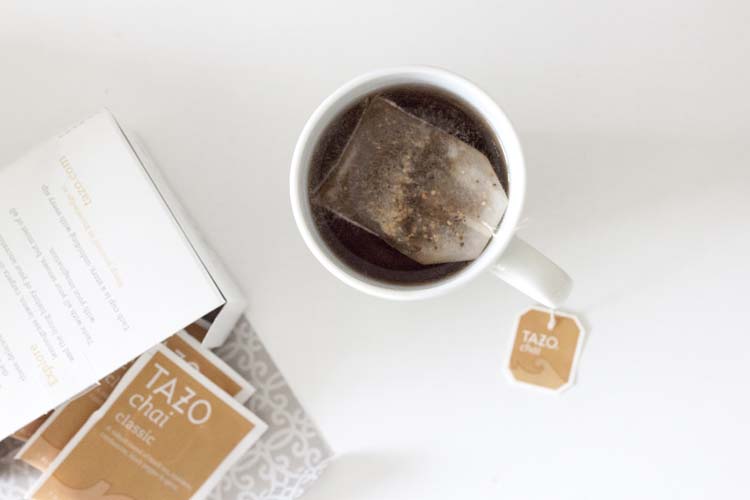 I’ve recently tried some new Tazo® Tea blends: Zen™, with lemongrass and spearmint, and Awake™ English Breakfast™, my favorite black tea. The Passion® blend is a hibiscus tea with orange peel, passion fruit and ginger. I also opted for a box of my old favorite, Chai. And speaking of boxes, how pretty are these? Maybe it’s trivial but when you have open shelving in your kitchen a pretty box is a plus. I also enjoy Tazo’s exciting and unexpected flavor blends. The pretty box is just the cherry on top.
  I’m Southern so I guess it comes as no big surprise that I enjoy my tea. But I’m really more of a warm tea kind of girl and, for me, tea time is anytime.
 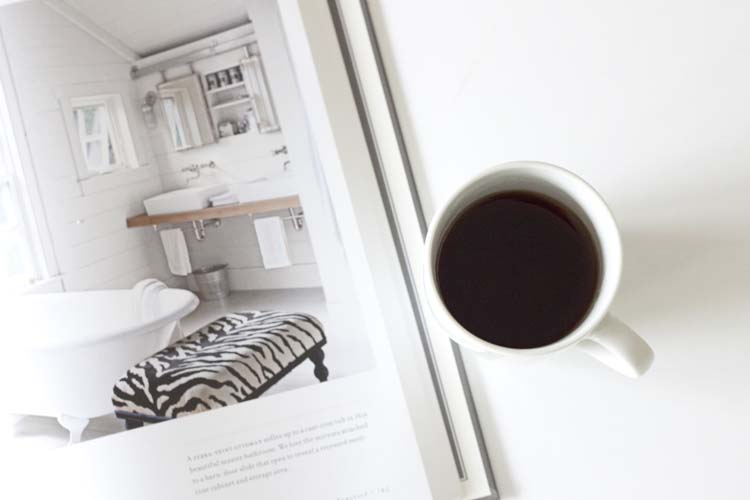 So I guess that makes me a little more like my European cousins. Just the other day I was searching for a cute tray idea and stumbled on the rustic leather handle tray from Williams Sonoma. And as gorgeous as that European pine is, I cannot afford it. But I could afford to make one of my own and so can you. And it’s so easy you’ll want to make more than one!
DIY Rustic Leather Handle Tray
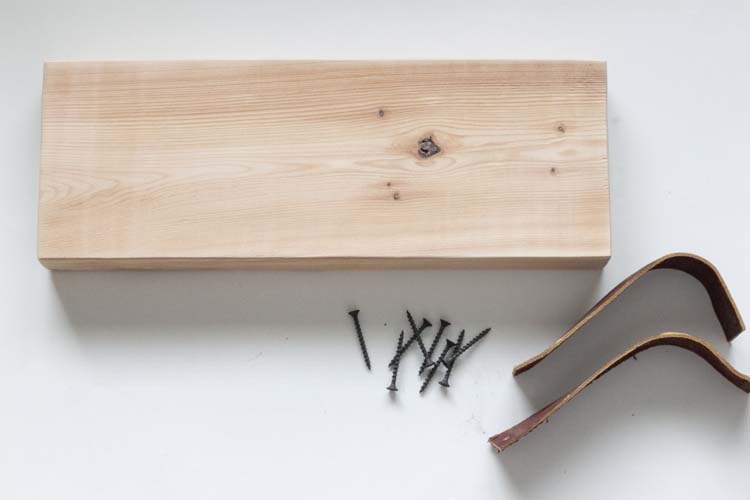
You will need:
- 2×6 (length is up to you, mine is approx 15″)
- scrap leather for handles (8″x 1 1/2″)
- 8 – screws (4 per handle)
- stain
- beeswax
- staining and waxing cloth
- drill (and bit for pre-drilling holes)
 As usual I have scrap wood. So when I saw this tray from Williams Sonoma I thought it might be a nice way to serve tea, cookies, prepare a cheese board or pretty much anything else. I also thought it might be a nice way to save about $120.
 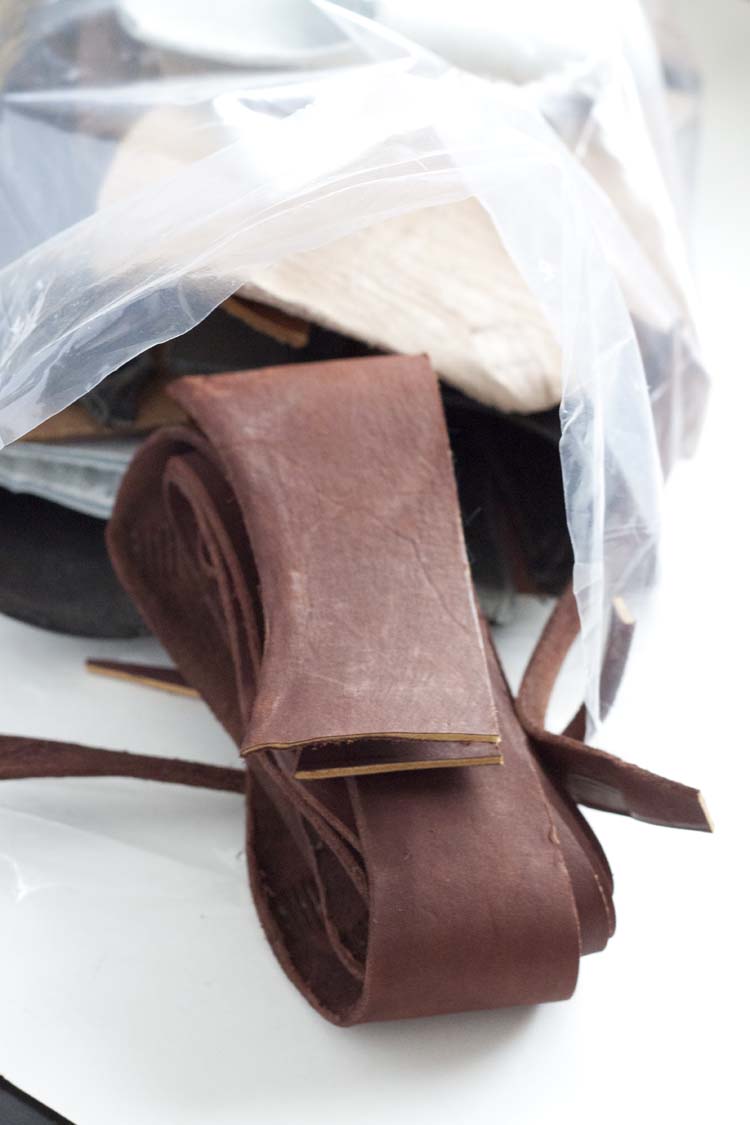 I got my scrap leather in a bag from Hobby Lobby. A bag of leather scraps in assorted colors can be had for 9.99 but I always use my 40% off coupon for this sort of thing. Buying the bag of scraps costs just as much as buying pre-made straps except you get tons of extra leather for future projects.
 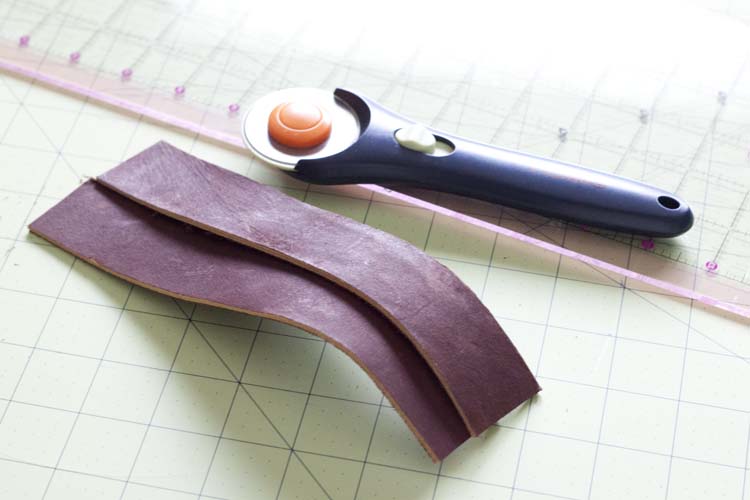 I used a rotary cutter to cut the handles. I made my handles 8″ long by 1 1/2″ wide.
 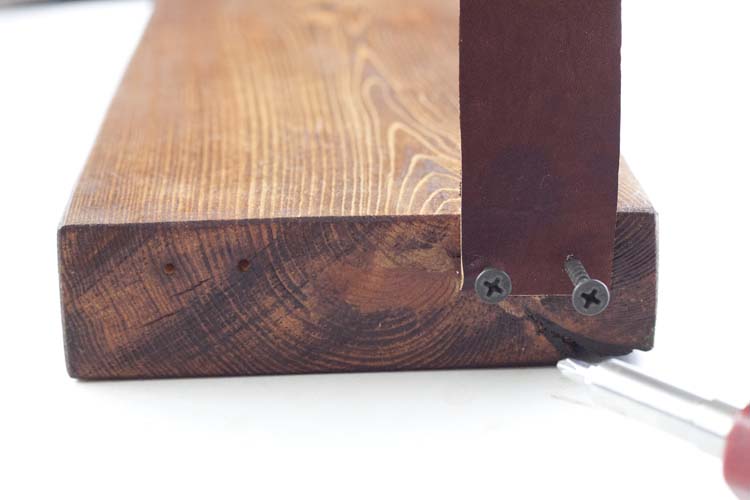 Pre-drill the leather and the sides before adding screws. This will keep your wood from splitting.
 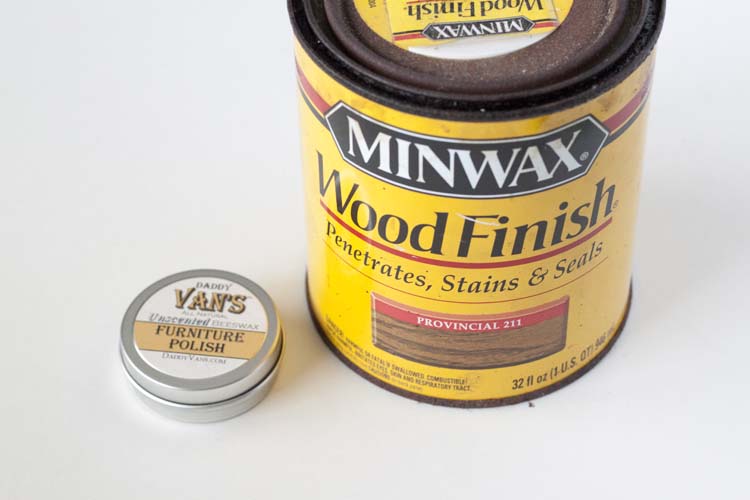 Stain your board. I used Minwax in Provincial and sealed with beeswax. I am comfortable using this around food. If you aren’t you can opt for a more natural stain, like milk paint, prior to adding the beeswax.
 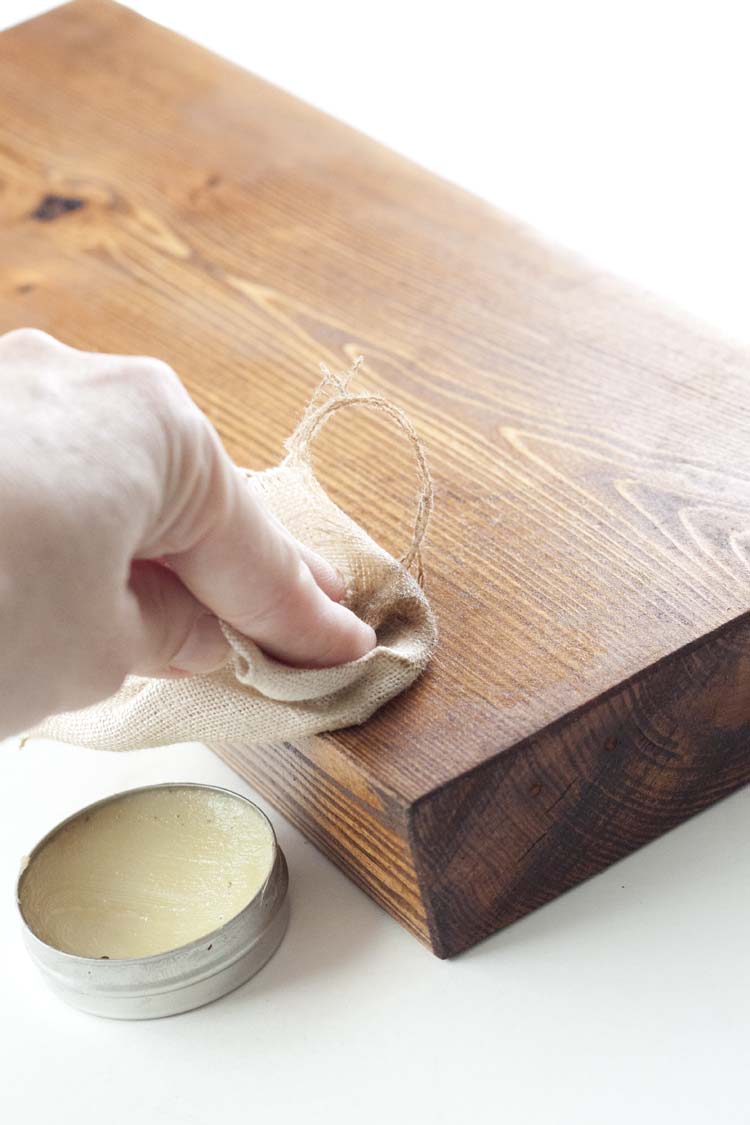 Allow your stain to dry overnight and apply a few thin coats of beeswax, allowing to dry and buffing between each coat and on the final coat.
 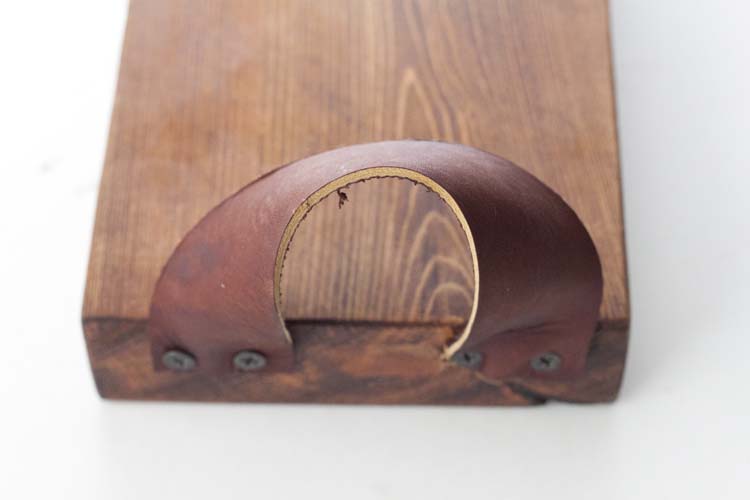 Attach your handles with screws through the pre-drilled holes with either your drill or a screw driver.
 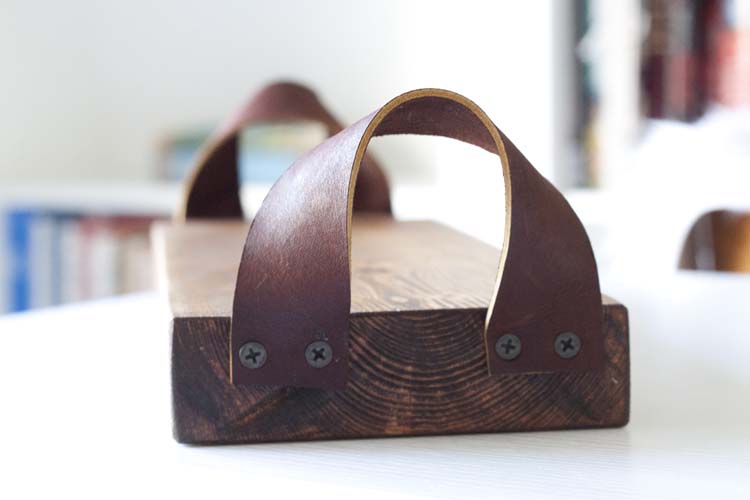 And that…is it! It’s such an easy DIY and its rustic simplicity is what makes it so pretty. Anyone you make it for is guaranteed to love it. Just don’t forget to make one for yourself.
 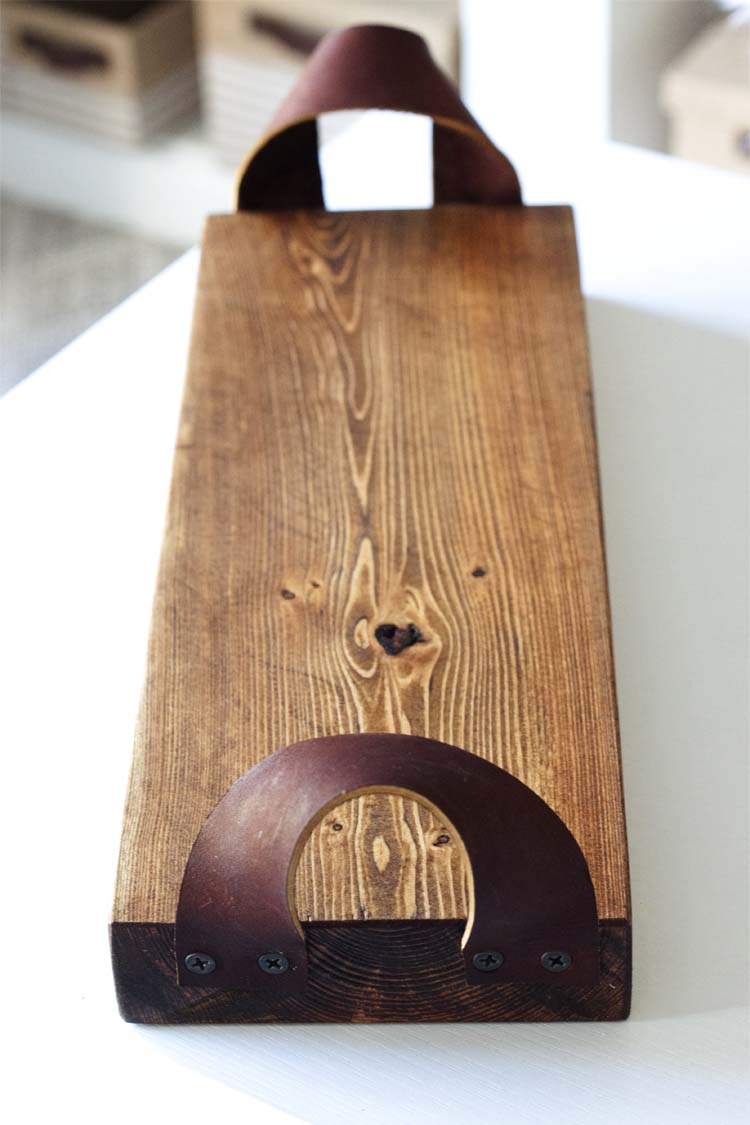 Not bad for approximately $120 less than the original, am I right?
 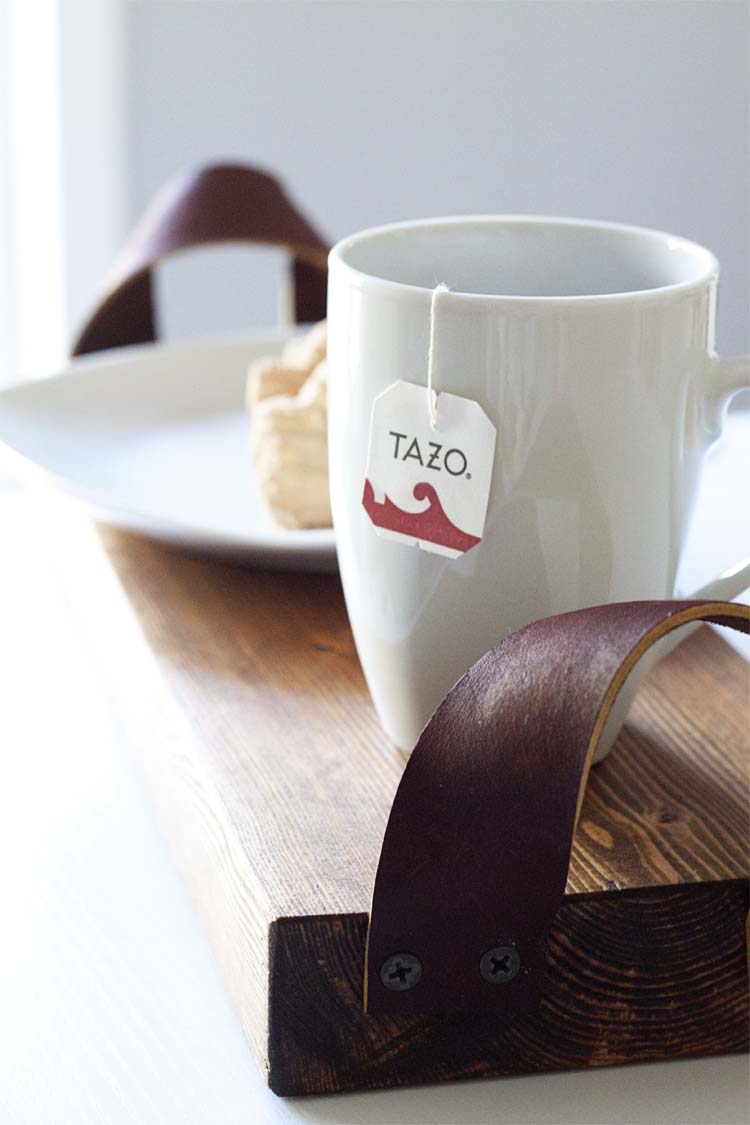 It’s perfect for tea time, cheese time or any time. It’s also just looks pretty all on its own.
 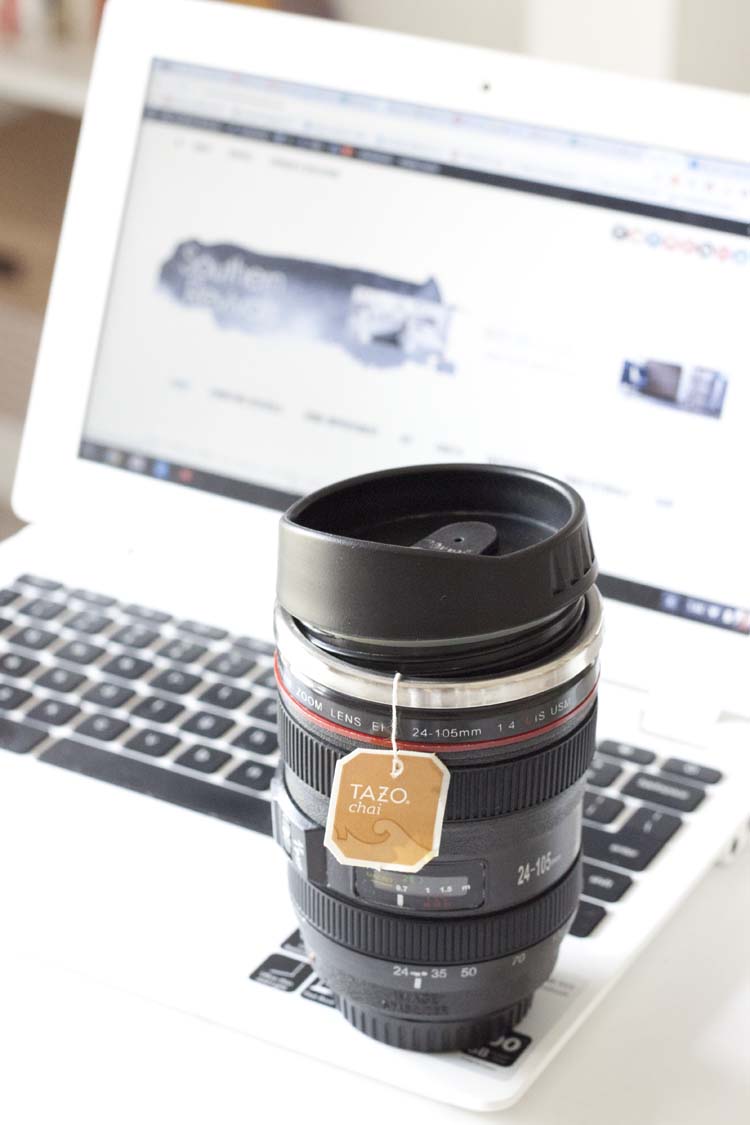 Of course lots of times I’m on the go with my tea so I can’t bring my tray with me. In which case I like to carry it around in my lens cup because it’s fun to watch people watch you when you put it up to your mouth. Like, does she realize she’s trying to drink from her lens?!
 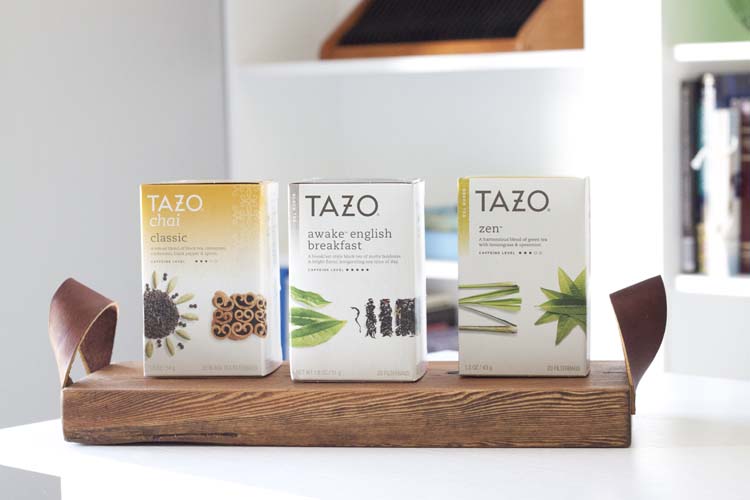 I’m really excited about making a few more of these as gifts for the holidays. Find your favorite blends of Tazo tea near you at Tazo.com. Grab some extra boxes for friends, pair the tray with a few boxes and add a bit of cellophane and a pretty bow. It’s the perfect housewarming or holiday gift and the entire gift set will cost you around $25 to make!


Your “knock off” on this is decent. It would have been almost perfect if you had just used round head screws and a small washer under each. The tray itself, however, is about the biggest waste of time I’ve seen in a while. You can’t actually use this to serve anything you’re not willing to give at least a 50/50 shot of ending up on the floor, or table, or someone’s lap – especially with the nice buffed and polished surface. A serving tray has an edge, and the reason it has an edge is to keep things from sliding right off as you move. This is one of those items that is good for sitting with a bunch of cutting boards or baskets and making a nice staged display but actually has no real usefulness. Bilbo would never own one of these.
Thanks for the “decent” comment, Val! As for the size of the tray, you’ll have to take the design up with Williams Sonoma as mine is patterned after that. I find that the size of the tray is perfect for tea time but then I’m roughly the size of a hobbit myself. I’ve used it often and never spilled a thing. It’s also great as a bread or cheese board for anyone who’d rather not carry it. But you’re also correct in that it makes for part of a lovely vignette when not in use. As for the simple changes you suggested, like the pan-head screws, they’d be lovely, you should go for it. The only thing I can say for sure about Bilbo is rather than wasting all this time on contrary comments he’d probably just make one to his liking instead. After all, we wouldn’t want to get ourselves confused with those Sackville-Bagginses!
Jamie, There’s one in every group, complainer that is. Your tray is Sweet ! To satisfy some, maybe the board could be routed out to have a lip on the inside, hmmmm? S ~~~
Thanks Susan! Great idea. My hope is always to inspire. I’m always excited to hear my ideas expanded upon. Thank you!
You go Jamie!!!! Yahoo! Tell ’em girlfriend. If you hadn’t, I was.
Now on to good stuff. I swear, I think this is about the best DIY I have seen in a long time. It is also very doable without a lot of expense or tools. I can see folks varying the size, shape, color whatever to their liking. I intend for this to be my main gift for Christmas to a lot of family members who I know will love it and it’s versatility. I’m making one for me tomorrow. Thanks so much!
Thanks Linda! I am so glad you found the post useful. There are so many fun variations and I’m delighted that you’re thinking of doing them as gifts. I would LOVE to get something handmade like this myself! I’m also glad you’ll make one just for you, too. Thanks again and have a great one!
Hi Jamie! I absolutely love this! You are so talented and I am envious. This is such a great idea for use at home and what a wonderful gift. Christmas is right around the corner! I am always amazed at your ideas. Look how much money you saved. Smart idea and handmade!! That makes it special. Keep those posts coming! We all enjoy them!
I can sure see this as a gift item, along with a nice loaf of home baked bread. Such a great idea! Thank you.
Hi Brenda,
Thank you!