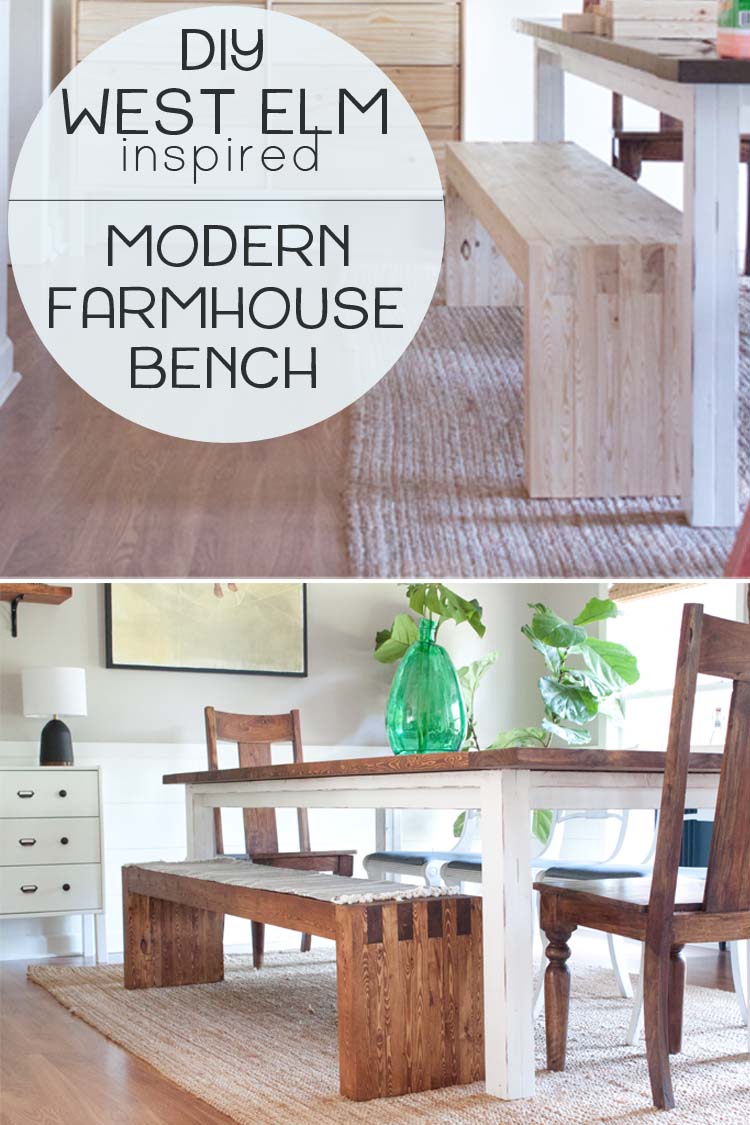
A few weeks back (when I was struggling with exactly what I wanted to do and how I wanted to do it in what became our modern farmhouse dining room makeover) I was trying to decide whether I wanted to go with chairs on both sides of our farm table or whether I wanted a bench. Did I want two benches or just one? Did I want a regular farmhouse bench or did I want something with a high back??
Decisions, decisions, decisions.
Then, when I was thumbing through my latest West Elm catalog I came across the modern-style Emmerson Dining Bench and I immediately knew that was it. It reminded me so much of an outdoor bench I had seen from Amy from DIY Candy do awhile back and a bit like the slat style outdoor bench from Ana White. Except our bench would be used inside and it needed to be custom-sized to fit out custom built farm table. It also needed to match the seating height of our dining chairs, just to keep things even.
Here’s how we built our modern farmhouse bench to a finished size of 72″ long, 17″ high and 13 1/2″ deep to go along with our (also West Elm inspired) farm table that is 95 1/4″ in length.
DIY Modern Farmhouse Bench
You will need:
- 10 2x4x8s pine boards
- 1 tube Liquid Nails (for wood)
- miter saw
- framing square
- planer
- belt sander (50 grit & 120 grit)
- stain and applicator
- bar clamps (we used what we had on hand which are pipe clamps)
- drop cloth (do as I say, not as I do)

Cut list:
- 4 @ 6ft (top)
- 5 @ 65 1/2″ (top)
- 10 @ 17″ (legs)
- 8 @ 13 3/4″ (legs)

Prior to cutting your boards, you’ll want to plane the rounded edges off the sides of each 2×4 board. This will help your pieces fit together properly. If you don’t own a planer you can use your table saw but if you’ll be doing this kind of work very often it’s a small investment with a large payoff.
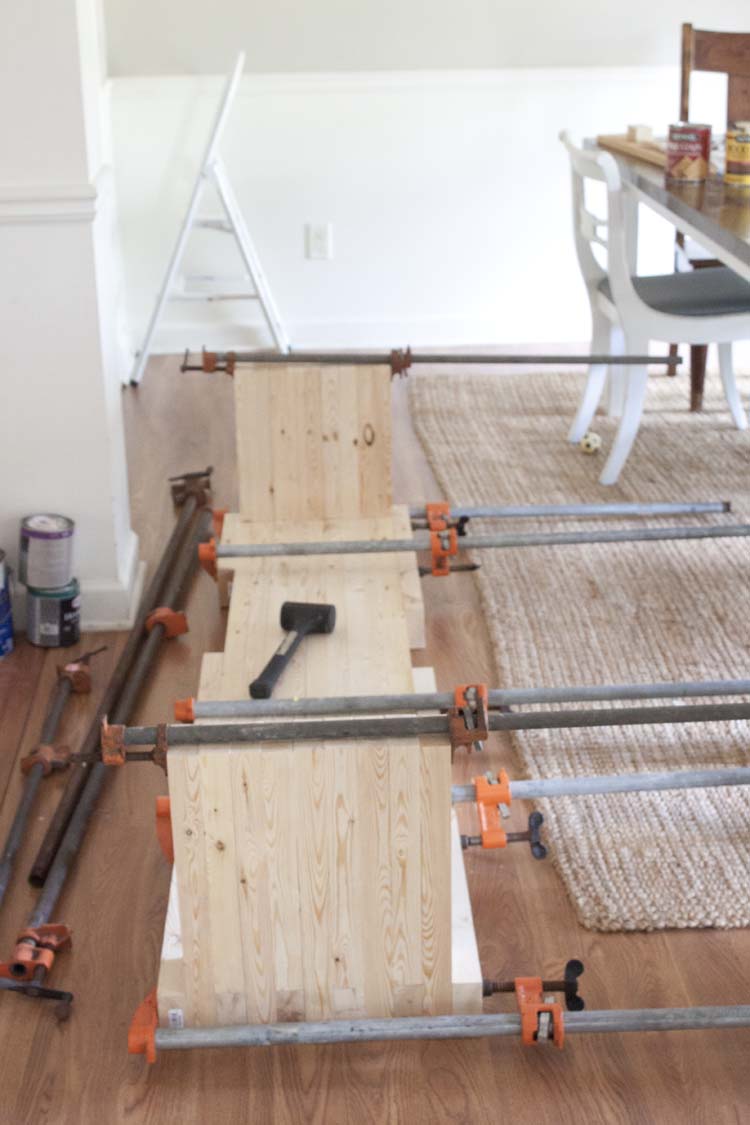
Once you’ve got all of your pieces cut, refer to the drawing above to get comfortable with how your bench pieces will fit together. Note the off-set or box style joints.
Lay the bench pieces out for a trial run as pictured above if it makes you feel more comfortable. This may also help you to know which pieces to grab once you start gluing them together.
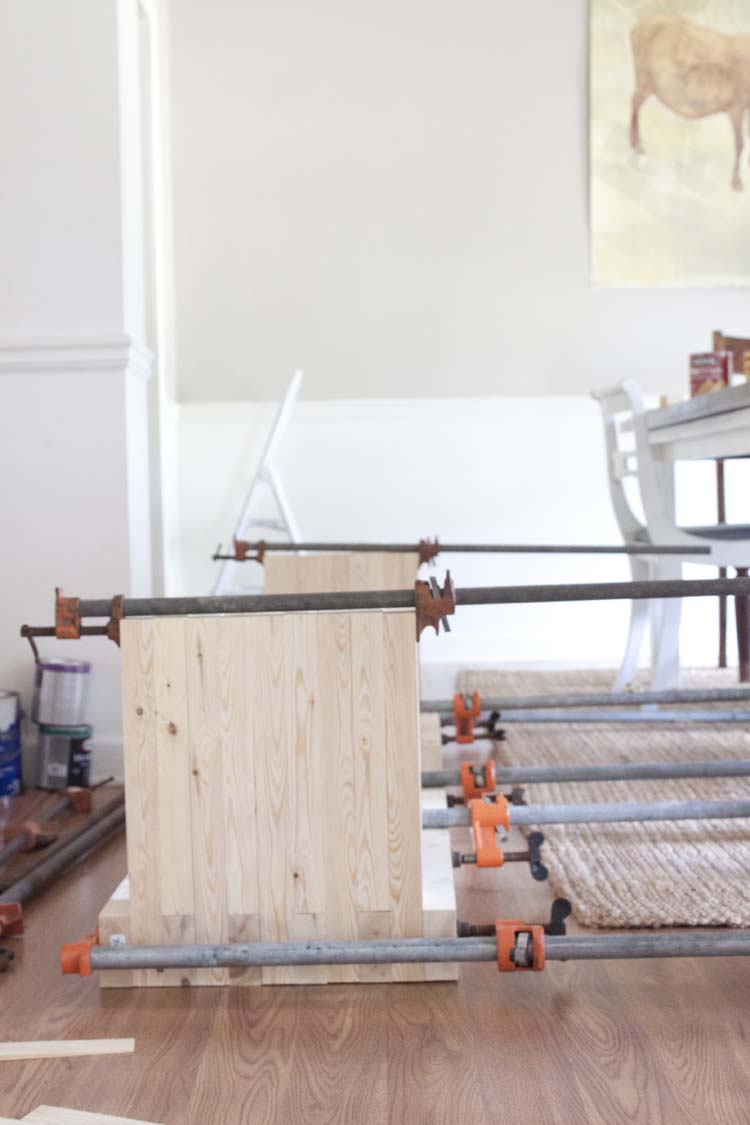
Have you clamps laid out and easy to reach. Start by laying out a 65 1/2″ section onto a completely flat and level protected work surface. Add glue and then attach one 6 ft (or 72″) piece. Once you have these two pieces sandwiched together, add in your leg sections, on both ends. Start by lining up the two 17″ pieces with the first 65 1/2″, glue, then alternate with the 13 3/4″ and placing these on top of the 72″ pieces.
Continue in this way until all of your pieces have been added in clamping lightly as you go if necessary. You want to make sure that your bench is secure by using enough glue but you don’t want to use so much that it squeezes out when you clamp your pieces together. Glue can make getting the stain to take later more difficult. If you mistakenly add too much and it oozes out, remove any excess with a damp cloth and be sure to sand those areas thoroughly in the final step prior to staining.
Once all of your bench pieces are assembled you can walk along (the underside of) the top to make sure all of the top pieces are flush. Then make sure your bench is square by using your framing square and tighten up clamps. We used scrap wood between the clamps and the bench to prevent scarring. Allow to dry for 24 hours before moving or proceeding.
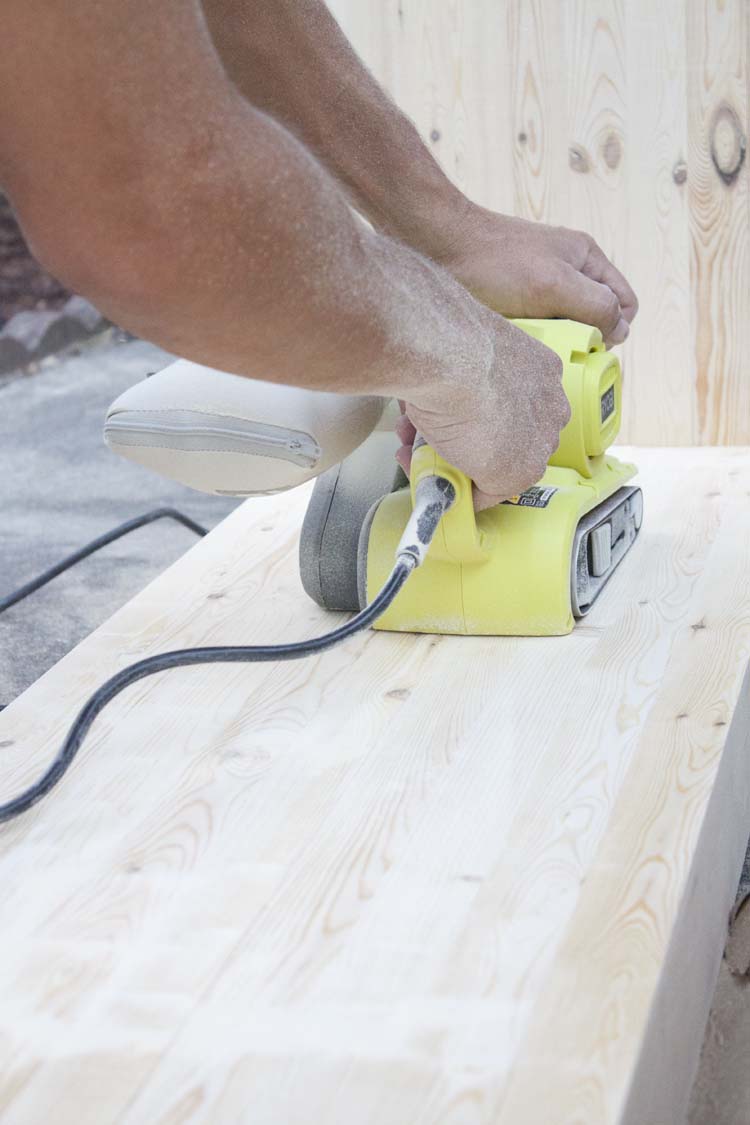
After your bench has had ample time to dry use a belt sand with a 50 grit belt to smooth down any rough of uneven edges. Finish with a 120 grit or other fine grit to smooth it out prior to staining.
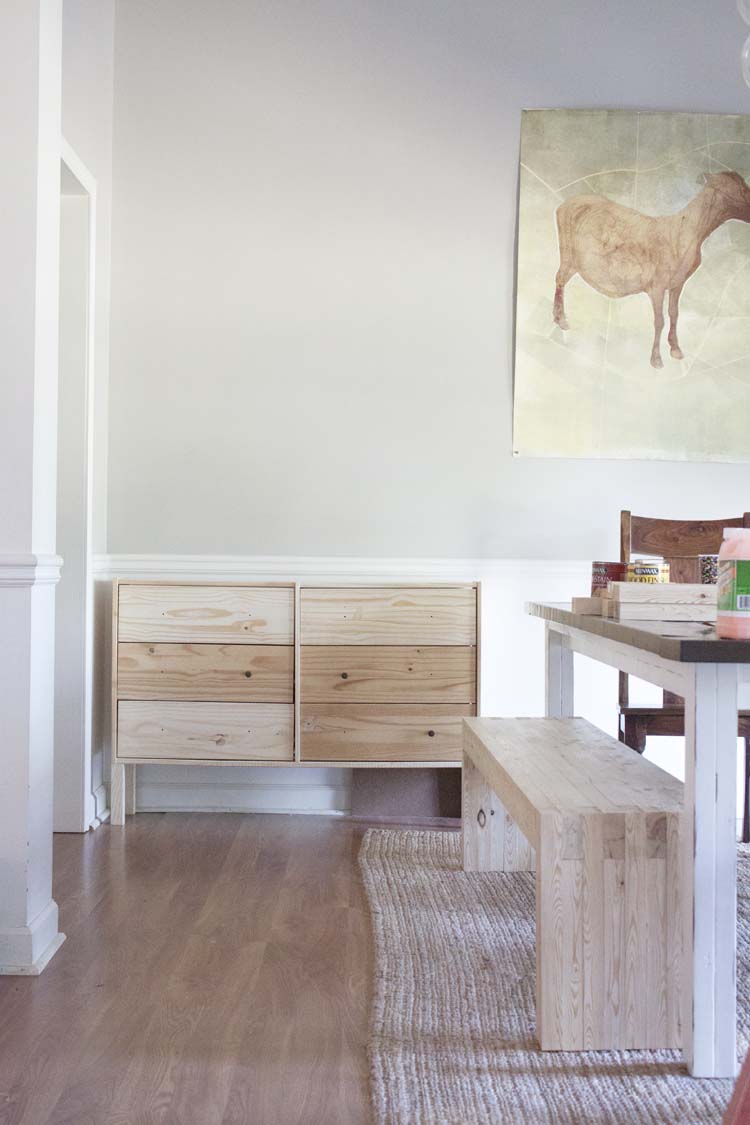
At this point in our makeover process, I hadn’t decided whether I would paint or stain the IKEA Rast Hack Buffet to match the bench.
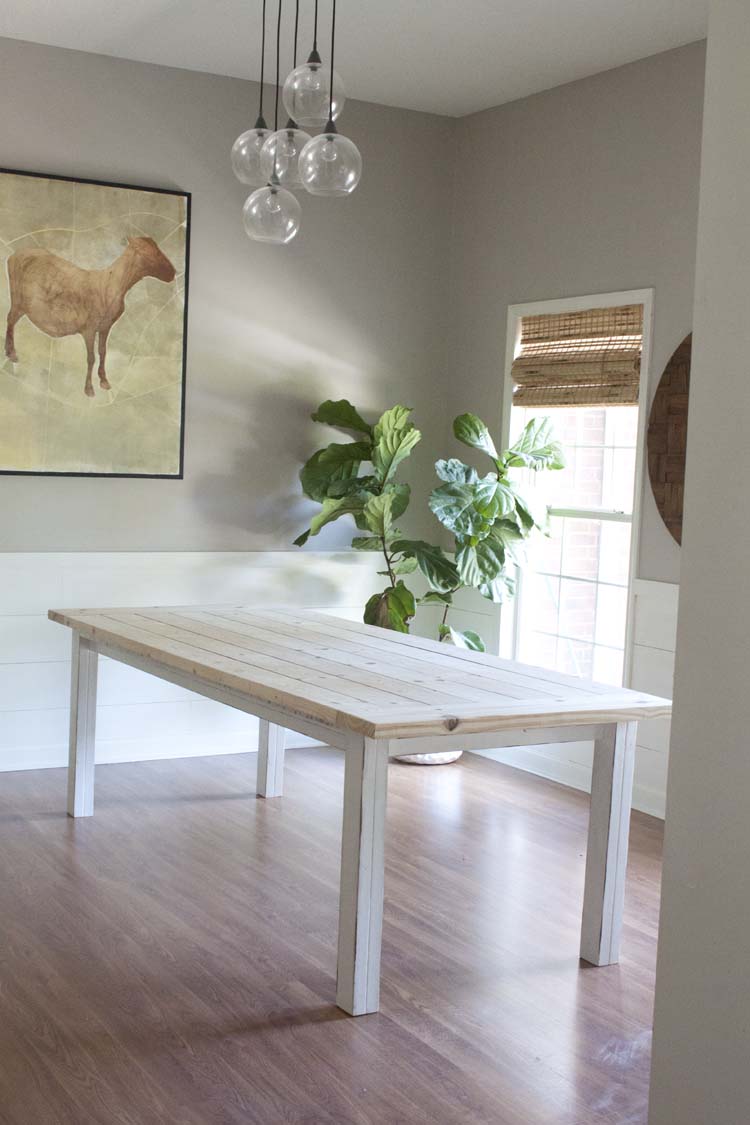
I also hadn’t yet removed the hideous paint-like stain I had added to our farmtable after we first built it (and way before I knew what I was doing). Once that was done (I was tempted to leave it that way) I decided to stain the bench and tabletop to match my thrifted Pottery Barn chairs.
I used a mixture of Honey and Red Chestnut by Minwax, just playing around with it until I got the shade right. I wanted it to work with the chairs and the mirror I had robbed from the foyer.
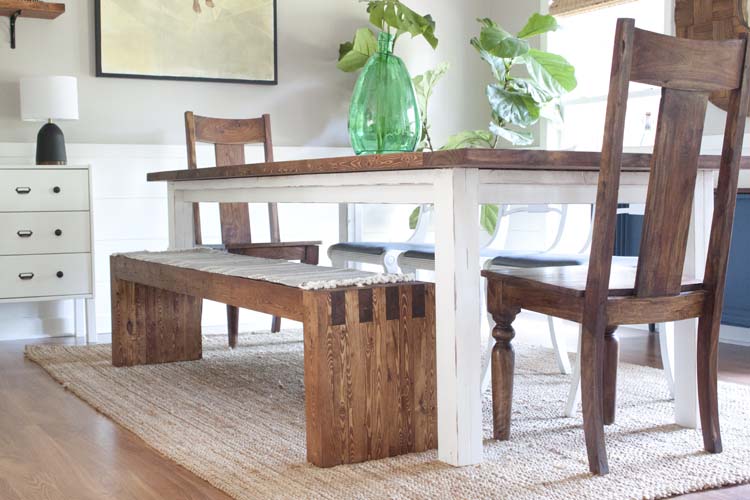
And with all of that stain, I decided I’d paint the buffet.
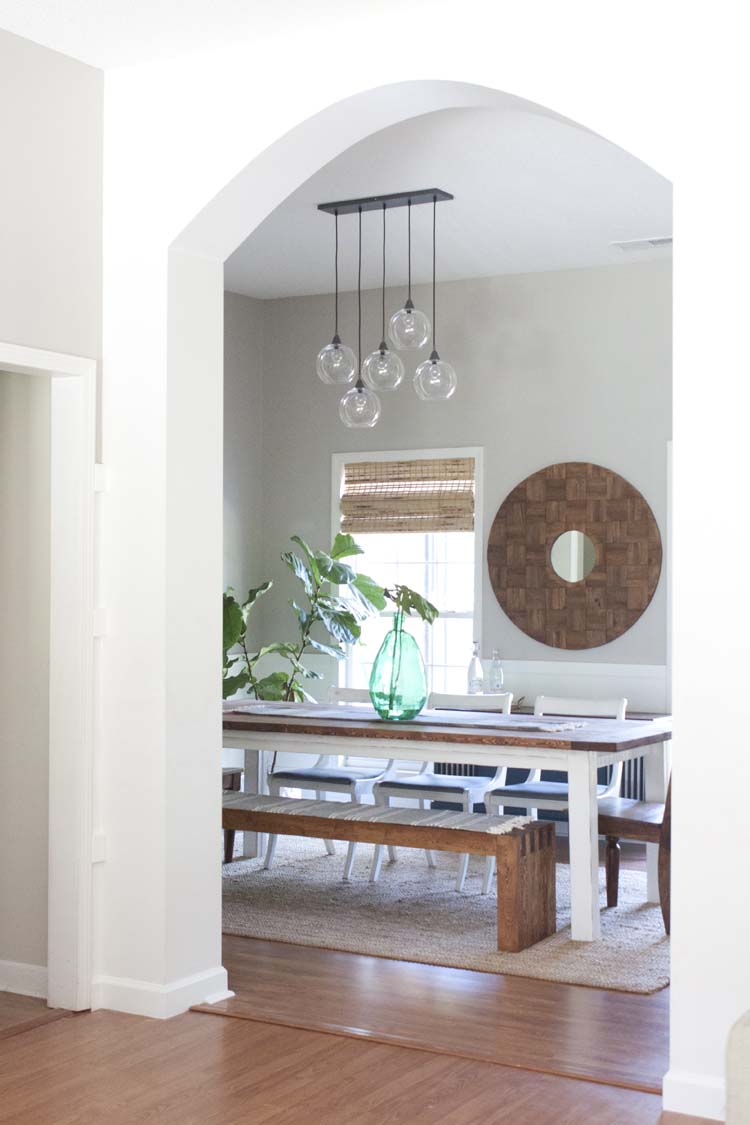
All the freshly painted columns and DIY Faux Shiplap keep the space bright. And one of these days I’ll be able to do something about our hideously mismatched and awkwardly pieced together floors. (The house came that way!)
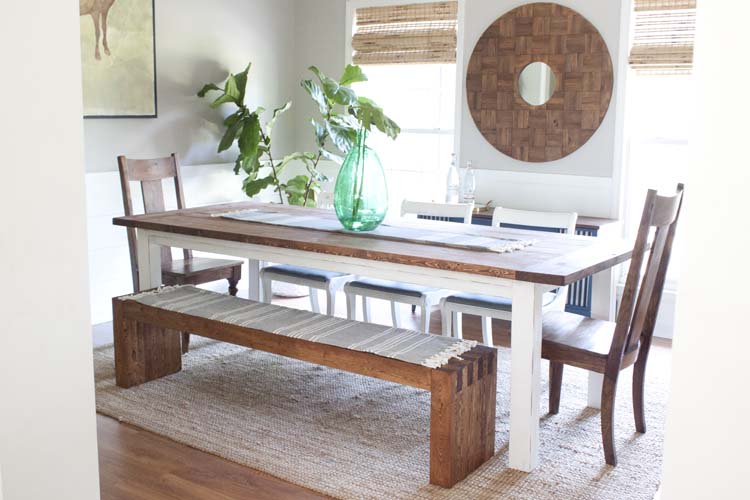
Those floors have embarrassed me for a long time and have probably slowed down the progress of all of these spaces because I thought they had to be done first. And since they’re like this throughout the house I’ve been worried I’d have to take out a second mortgage just to get them done.
But I’ve realized that, for now, I’ll have to embrace them and do what I can. And boy am I glad I decided to do that!







Your bench is gorgeous! Pinning! xo
Thank you Amy! And thanks so much for the inspiration!
This bench is gorgeous! I’ve been thinking of adding a bench to my rustic bedroom and I think this one would make for a very nice addition, but I’ve never done any major DIY woodworking. I may practice on something simple (and less big), but will definitely come back to this once I’ve gained some experience (and confidence) 🙂
Pinned and subscribed!
Thank you! This would look great in a bedroom and would also leave room for baskets underneath if you wanted.