“This post is sponsored by The Home Depot.”
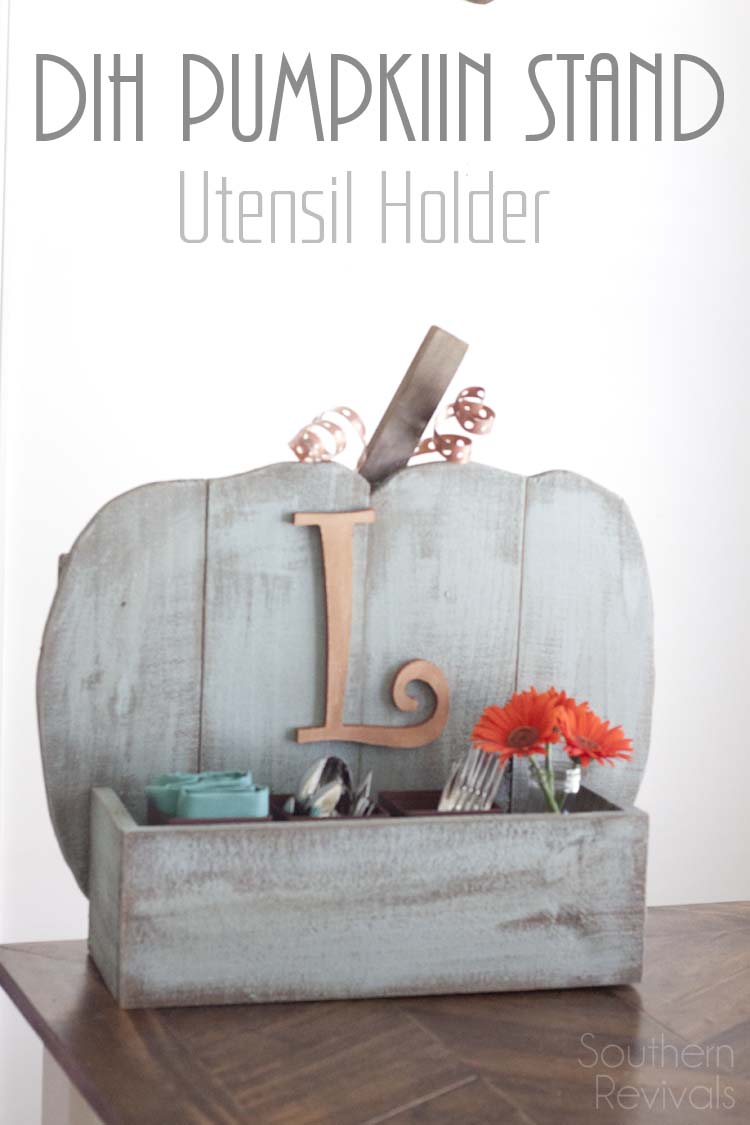
I posted a poll on my Facebook the other day to find out more about what you guys would like to see me do. I asked, If I were to post a video tutorial what would you want it to be about? An overwhelming amount of you said: show me how to use power tools! Before I get to that, let me tell you about how you can get a hand’s on workshop near you at the Home Depot. You’ll learn to build this fun, seasonal Rustic Pumpkin Stand and you’ll get some hand’s on experience with some very cool power tools to boot. To find a workshop near you and learn how to build your own, click here: http://thd.co/1JhlrWQ
o The Home Depot’s Workshops are designed to provide a mix of associate-led instruction, demonstration, and some hands-on learning. Materials can be purchased to make your own project. For more information, contact your local Home Depot store.
The Home Depot offers Workshops at all of their locations for do-it-yourselfers of all ages and experience levels. There are three types of Workshops offered – Do-It-Yourself (DIY), Do-It-Herself (DIH) and Kids. Customers can learn how to build décor projects, how to make easy home repairs and how to operate tools through demonstrations and step-by-step instructions. Visit http://workshops.homedepot.com to learn more.
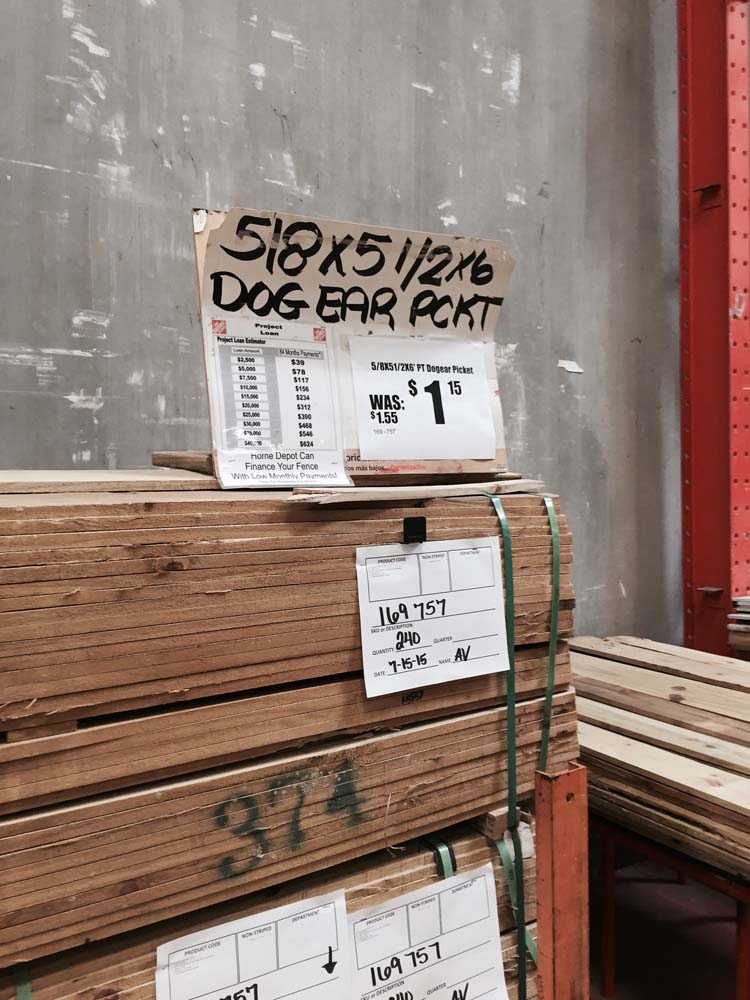 First you’ll start with possibly my favorite lumber of all time. I use it for everything from our boys’ clubhouse siding to my garden boxes.
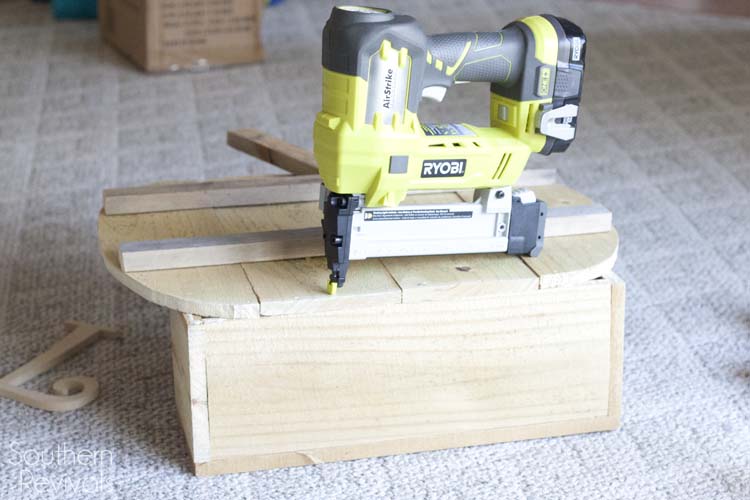 You’ll get to use some of my favorite tools, too. You’ll be using a table saw or circular saw to cut your wood pieces. Then you’ll get to use the Ryobi Airstrike Crown Stapler. People always ask me, if they’re new to power tools, what should they get? And I always recommend these Ryobi tools. They’re easy to use and dependable. In this workshop you’ll learn to use two of the power tools I use the most.
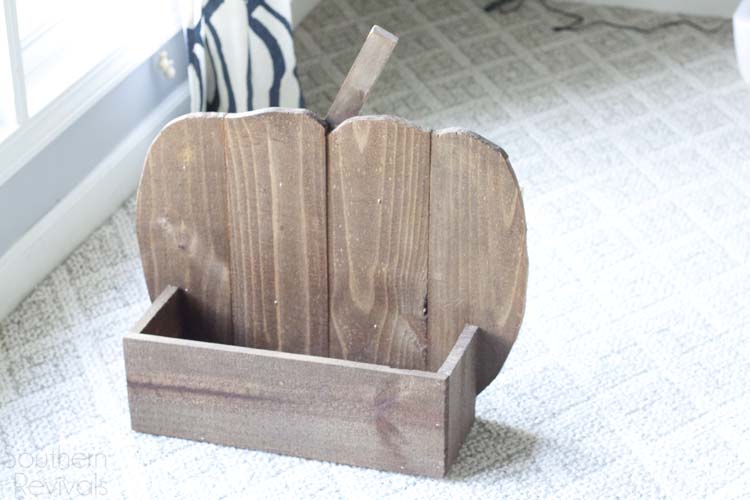 Once you’re done with the build you can add your own finishing touches. I stained mine before adding paint.
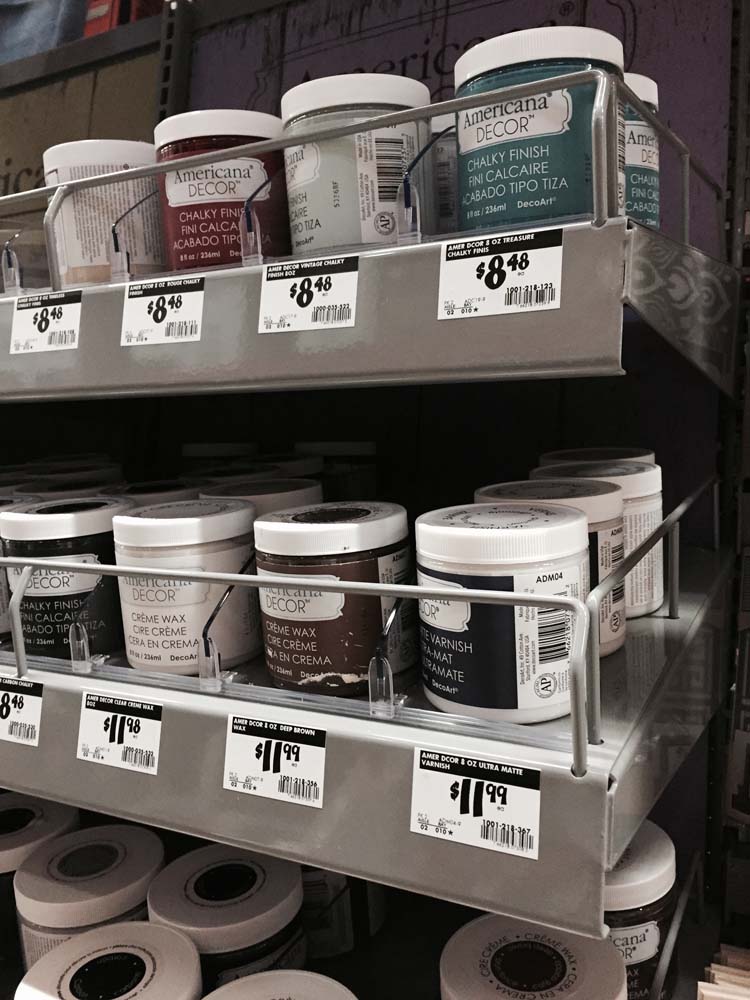 I also used one of my favorite paints to create the Cinderella pumpkin look I was going for – Americana Chalky Finish by DecoArt. It’s also available at Home Depot.
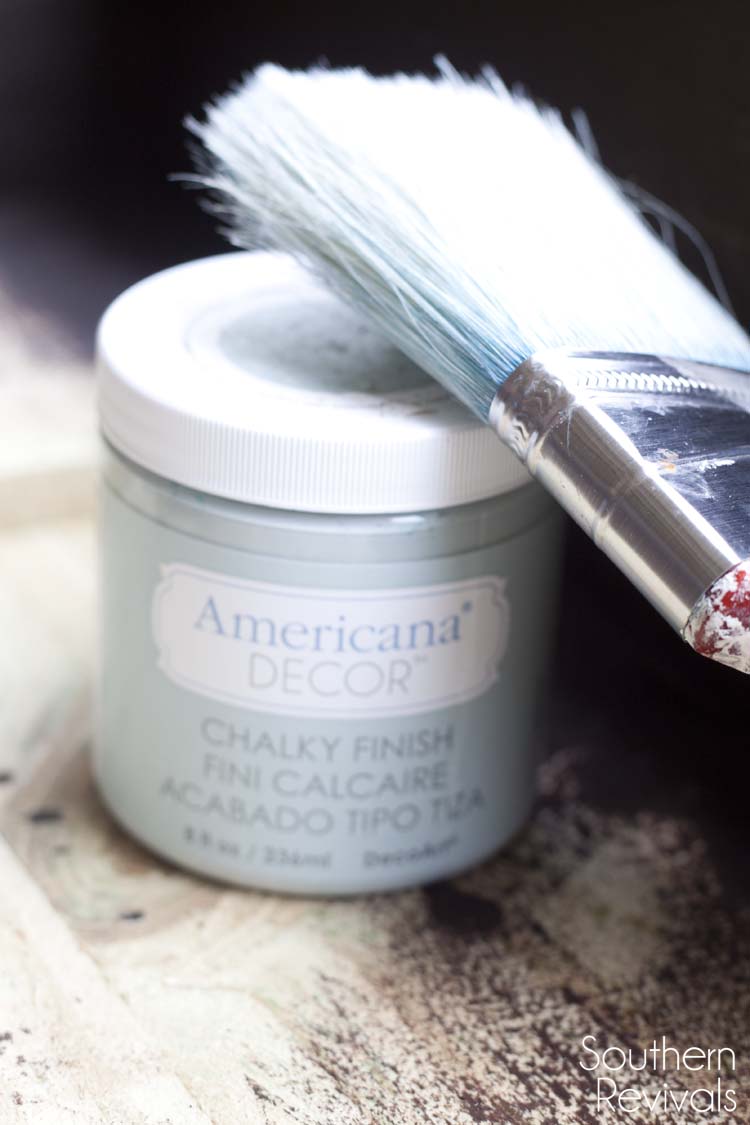 I used ‘Vintage’. It was fitting for both the rustic look and the bluey-green pumpkin I was going for.
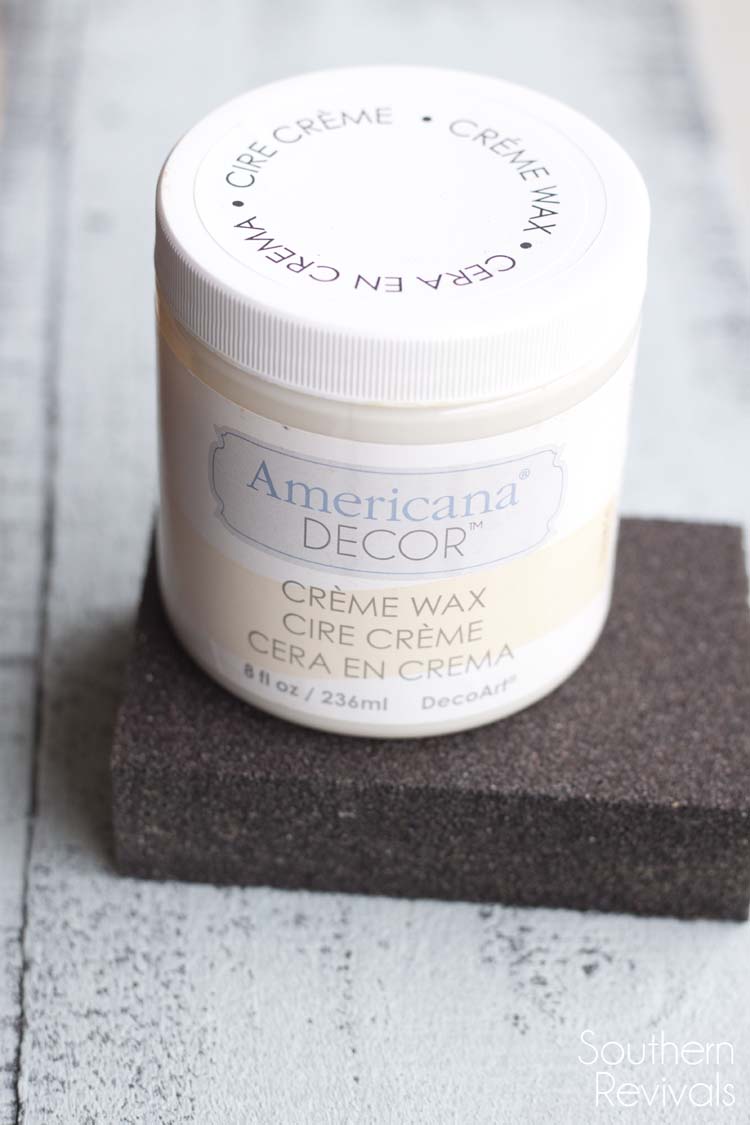 After I’d applied a light coat of paint, in a dry-brush technique, I applied the Creme Wax using a brush.
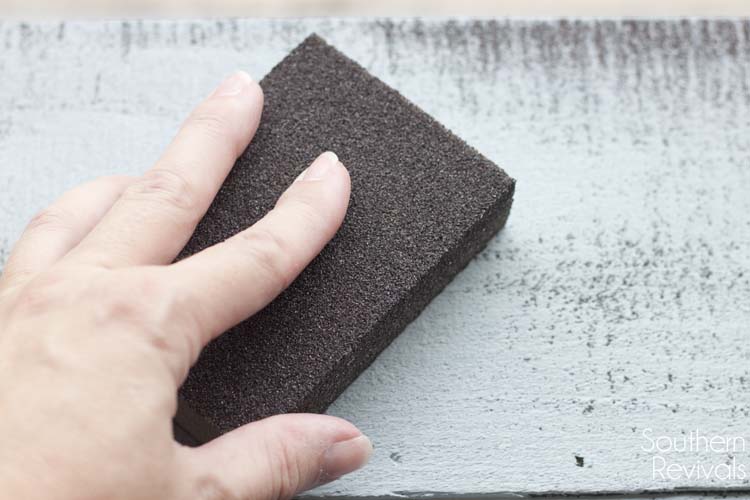 Before that dried I gave it a light sanding with a sanding block.
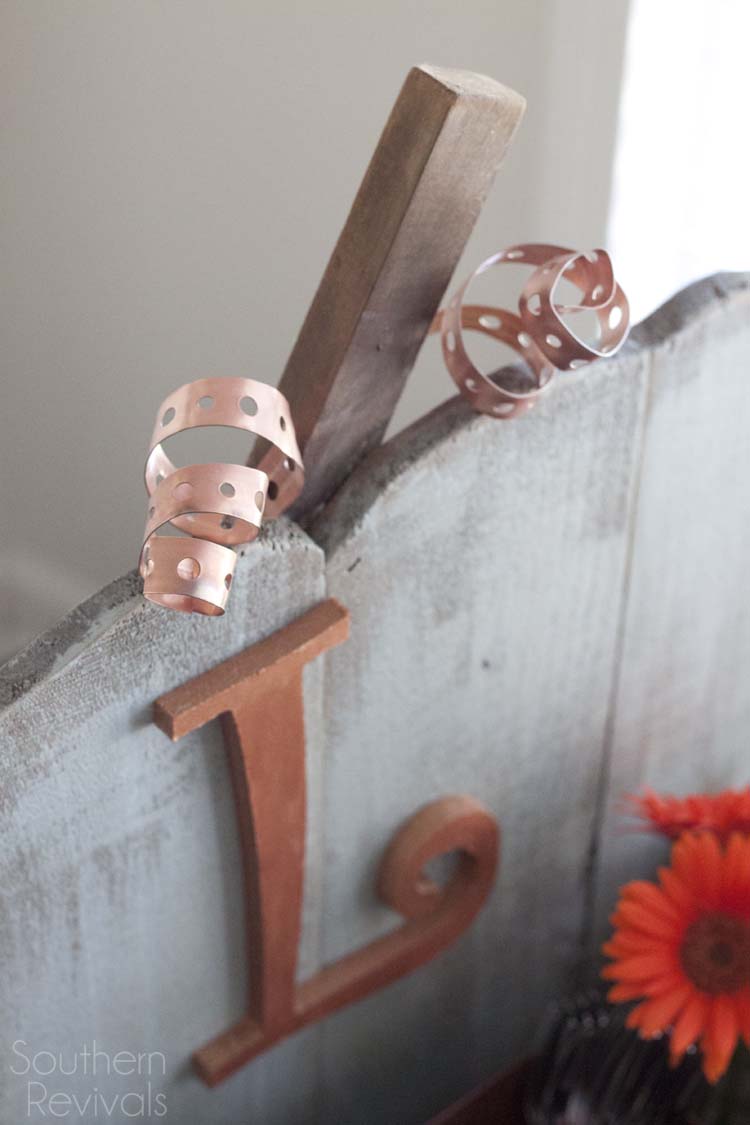
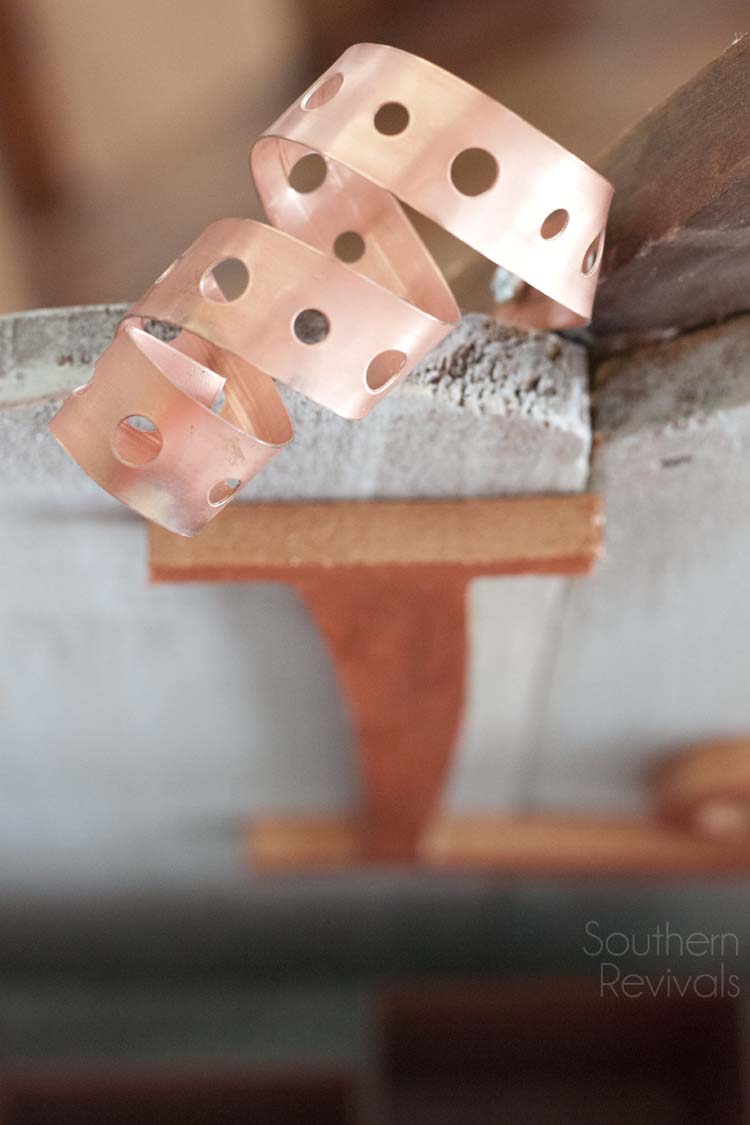
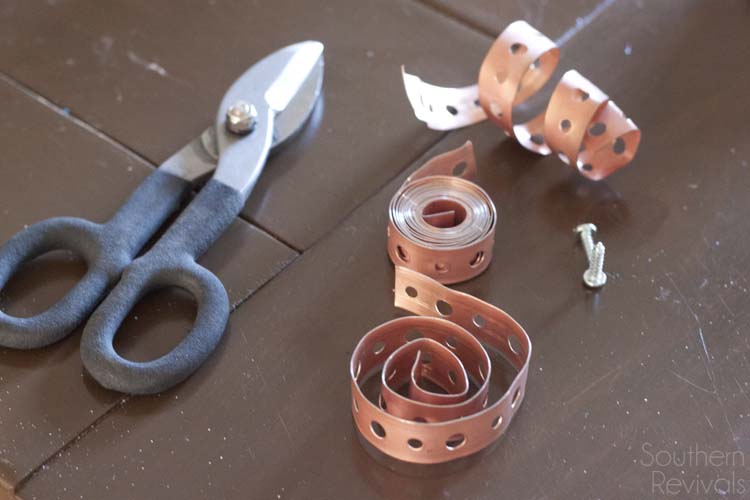 Then I decided my pumpkin needed some coppery tendrils. I have plenty of copper left over from my pallet wall project and I thought it was perfect for the job.
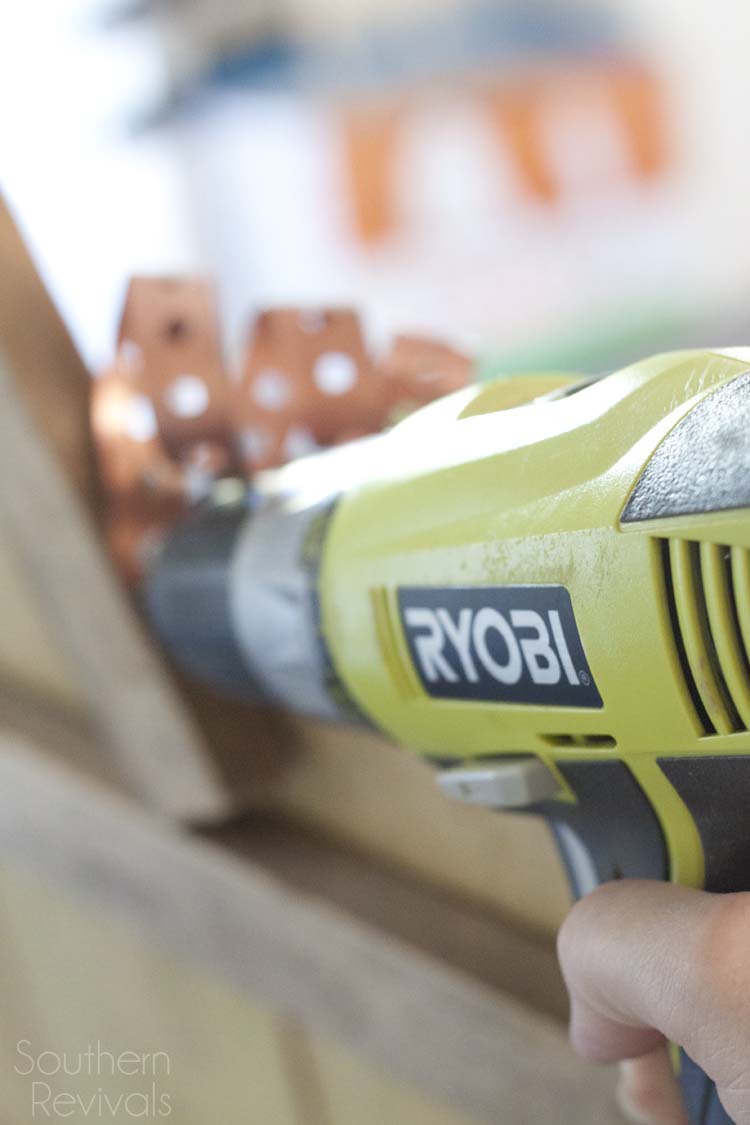 I attached them using screws to the pumpkin’s stem.
I also added a nice copper monogram letter to my pumpkin as well because everything is better with a monogram, as my SIL would say. EVERYTHING.
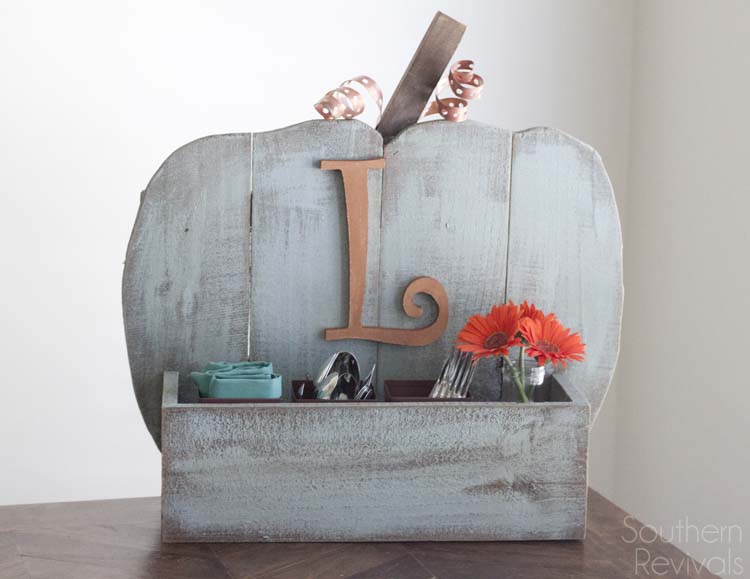 From there I added some small metal sections to hold utensils, napkins and glass milk bottle for some fresh flowers.
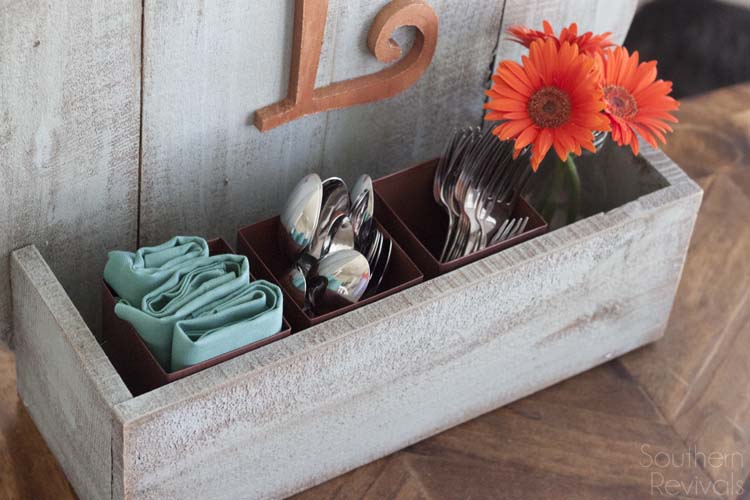 It’s perfect for all those upcoming holiday buffets.
 So if you’ve been meaning to take up power tools, this is a perfect way to learn. Anytime I am trying something new for the first time it is always easier when it’s a hand’s on experience.
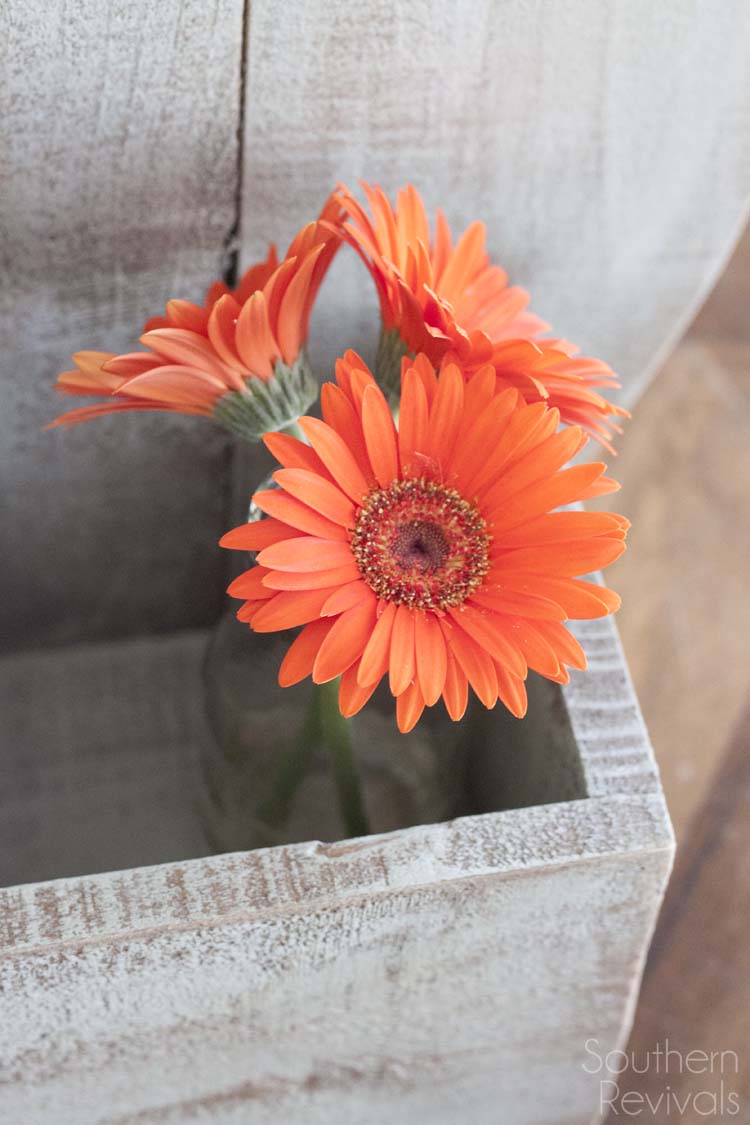 Not only that, but you’ll get to take home this adorable project. What’s not to love?
For more wonderful ways with this Do-It-Herself Rustic Pumpkin Stand, check out what these amazing bloggers did with theirs!
Outdoors
- Domestically Speaking
- Redhead Can Decorate
- My Uncommon Slice of Suburbia
- Setting for Four
- Little Red Brick House
Kitchen
Guest Room
- All Things Thrifty
- Over the Big Moon
- Pretty Providence
- Lou Lou Girls
Living Room
Dining Room
“I acknowledge that The Home Depot is partnering with me to participate in this Workshops Program (the “Program”). As a part of the Program, I am receiving compensation in the form of products and services, for the purpose of promoting The Home Depot. All expressed opinions and experiences are my own words. My post complies with the Word Of Mouth Marketing Association (WOMMA) Ethics Code and applicable Federal Trade Commission guidelines.”



The copper tendrils are so creative! What a great use of a common product.
Thank you Jamie! I won’t lie, it was a last minute idea and I felt really good about it. LOL 😉
You know I love me some letters, so I love this…but my favorite part is probably the copper tendrils. So creative and love the color and texture!
Girl, me too. And I also love me some copper. Copper anything. So it doesn’t matter where I am I buy anything that’s copper. I can’t even remember what that stuff is called but I think it holds duct work! LOL Thank you!
What a great idea, love the little metal holders for things and the copper monogram! I really need to go try that chalky paint, I usually just make my own.
Thank you! And definitely love that paint. It’s thinner than traditional chalk paint so it gives a buttery smoother finish. I love it.