
If you’ve been following me on Facebook then you know I’ve been color challenged lately. How I struggled and finally decided on a color though is another story for a different day
This is the story of how, once I FINALLY decided, I managed to get all three rooms done quickly, easily and in just two days with the HomeRight PaintStick EZ Twist Paint Roller Applicator.

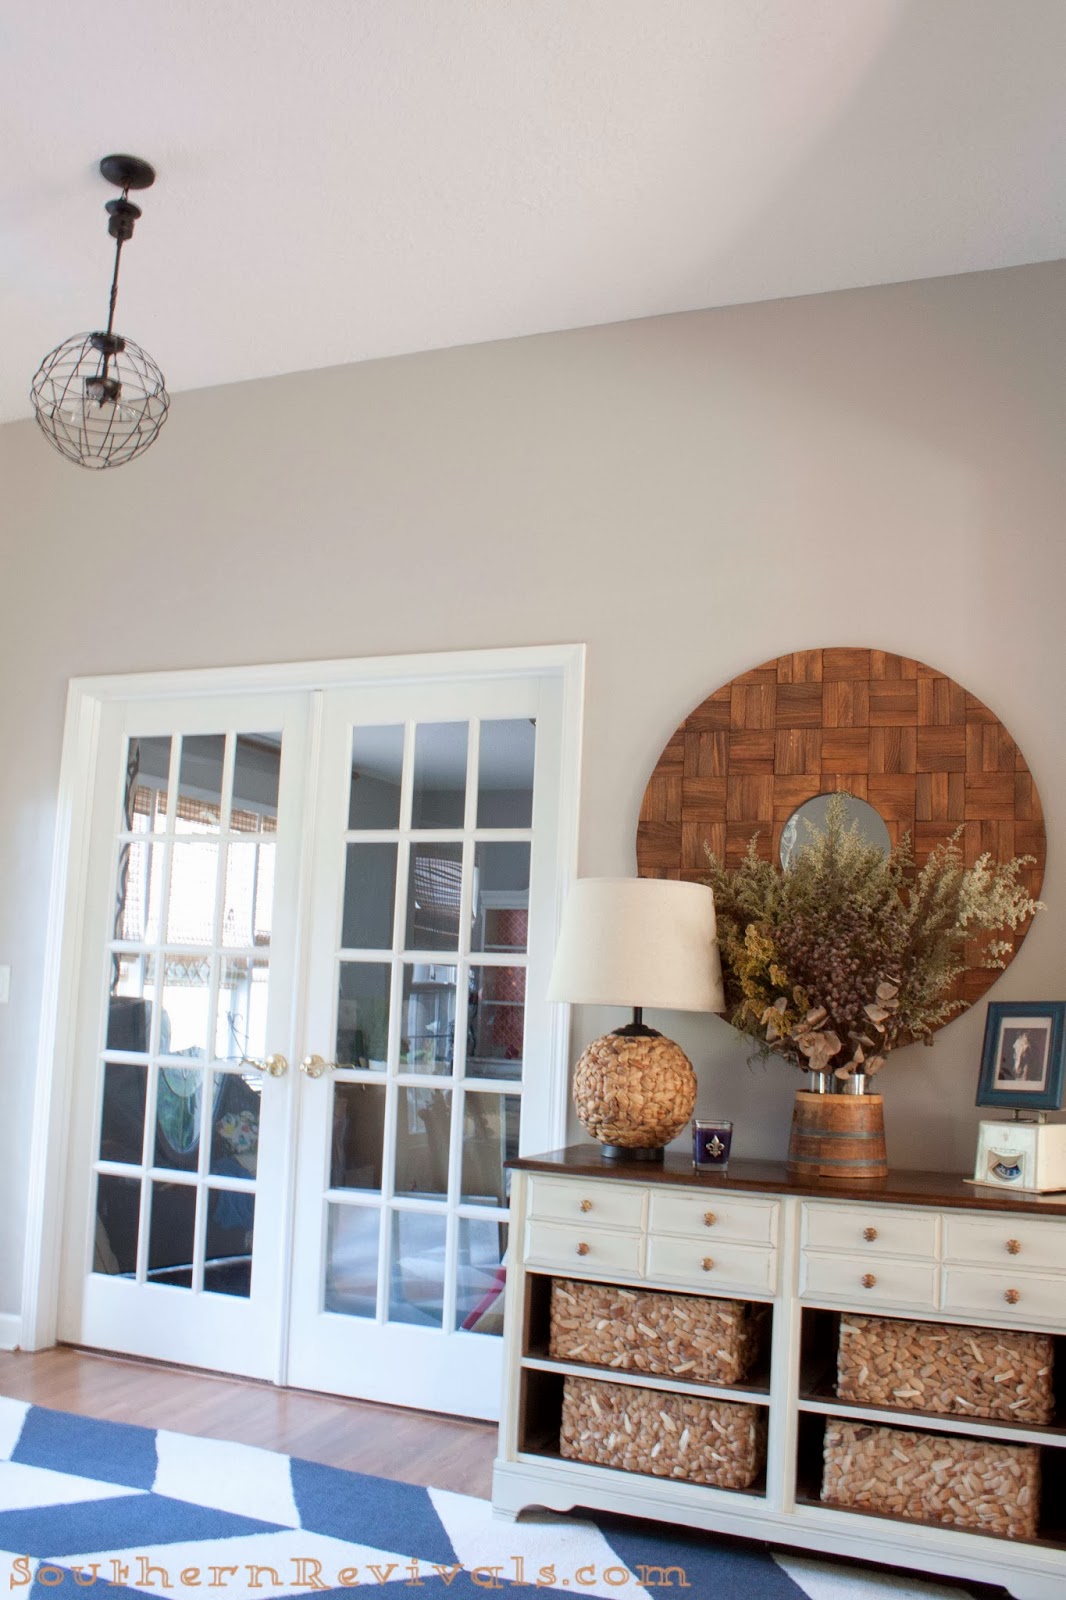
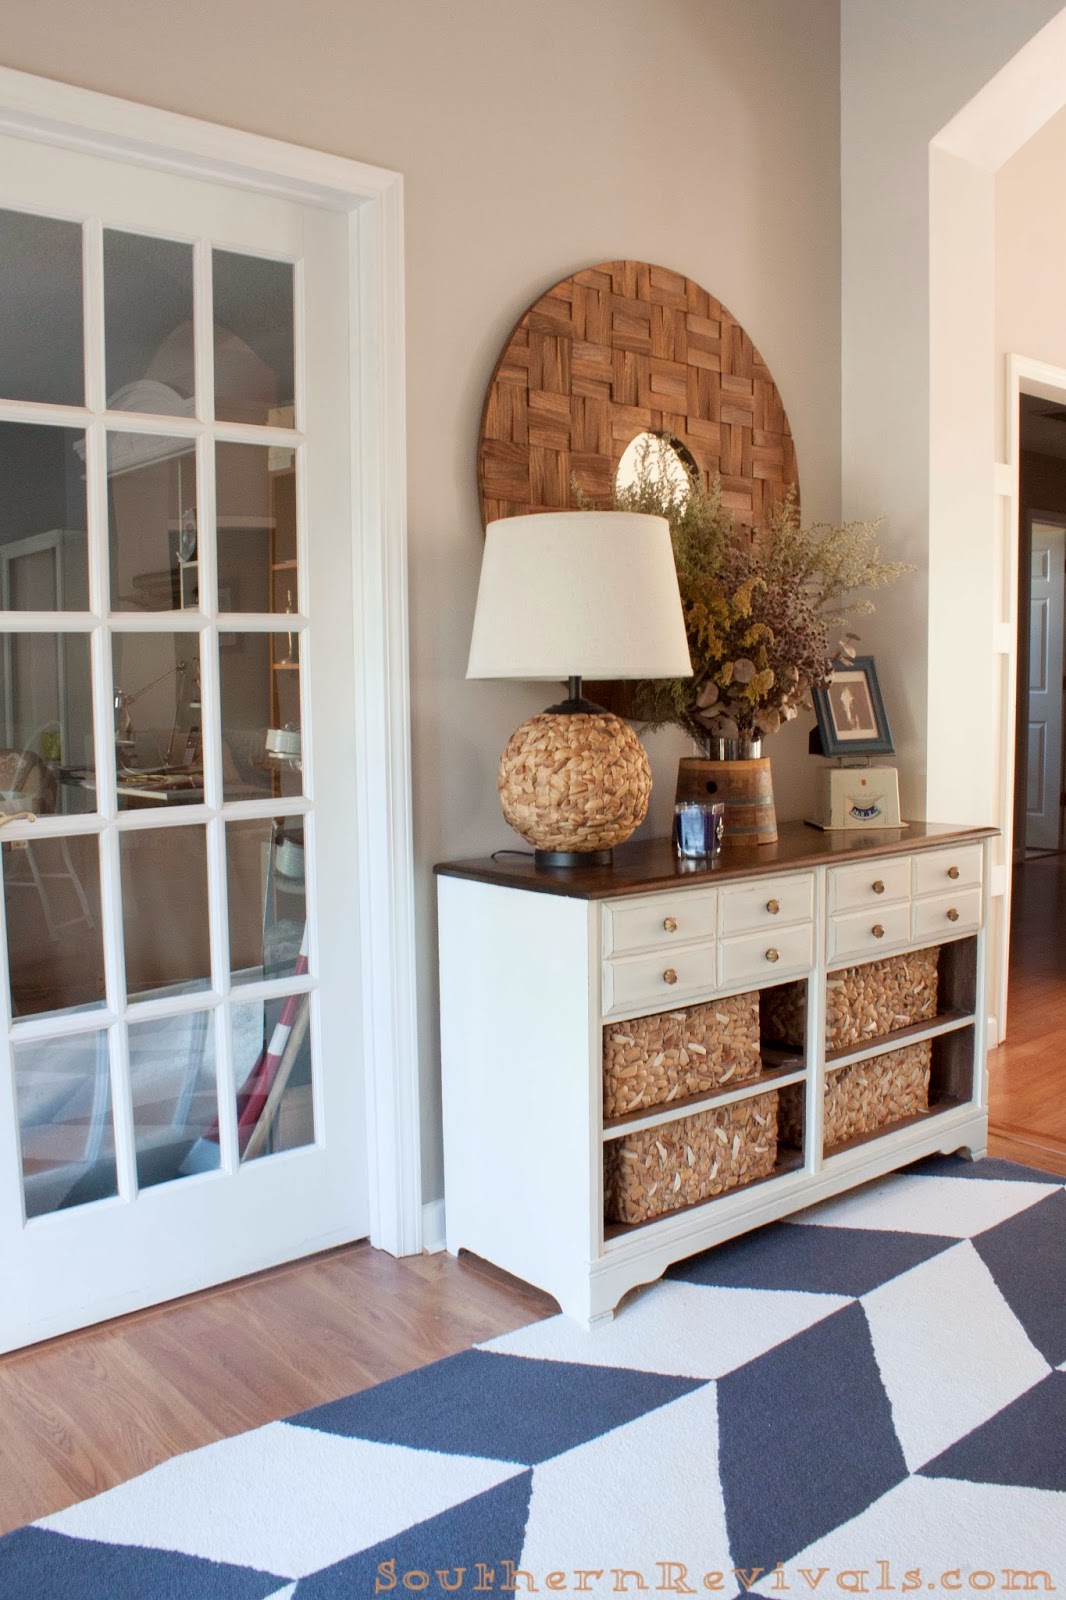
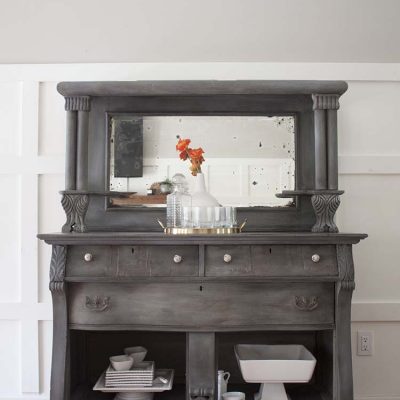
First, here’s my foyer before.
{More of my foyer BEFORE if you’re interested.}
My love of painting does not extend to walls. I’m an instant gratification kind of gal and painting walls involves way too much prep work. I just wish there was a way that you could start painting, keep painting and then just be done with it. Imagine my surprise when I discovered there was!

My HomeRight PaintStick EZ Twist Paint Applicator arrived just like with. With everything and I mean – everything! – I needed to just start painting. Well. Except for the paint.
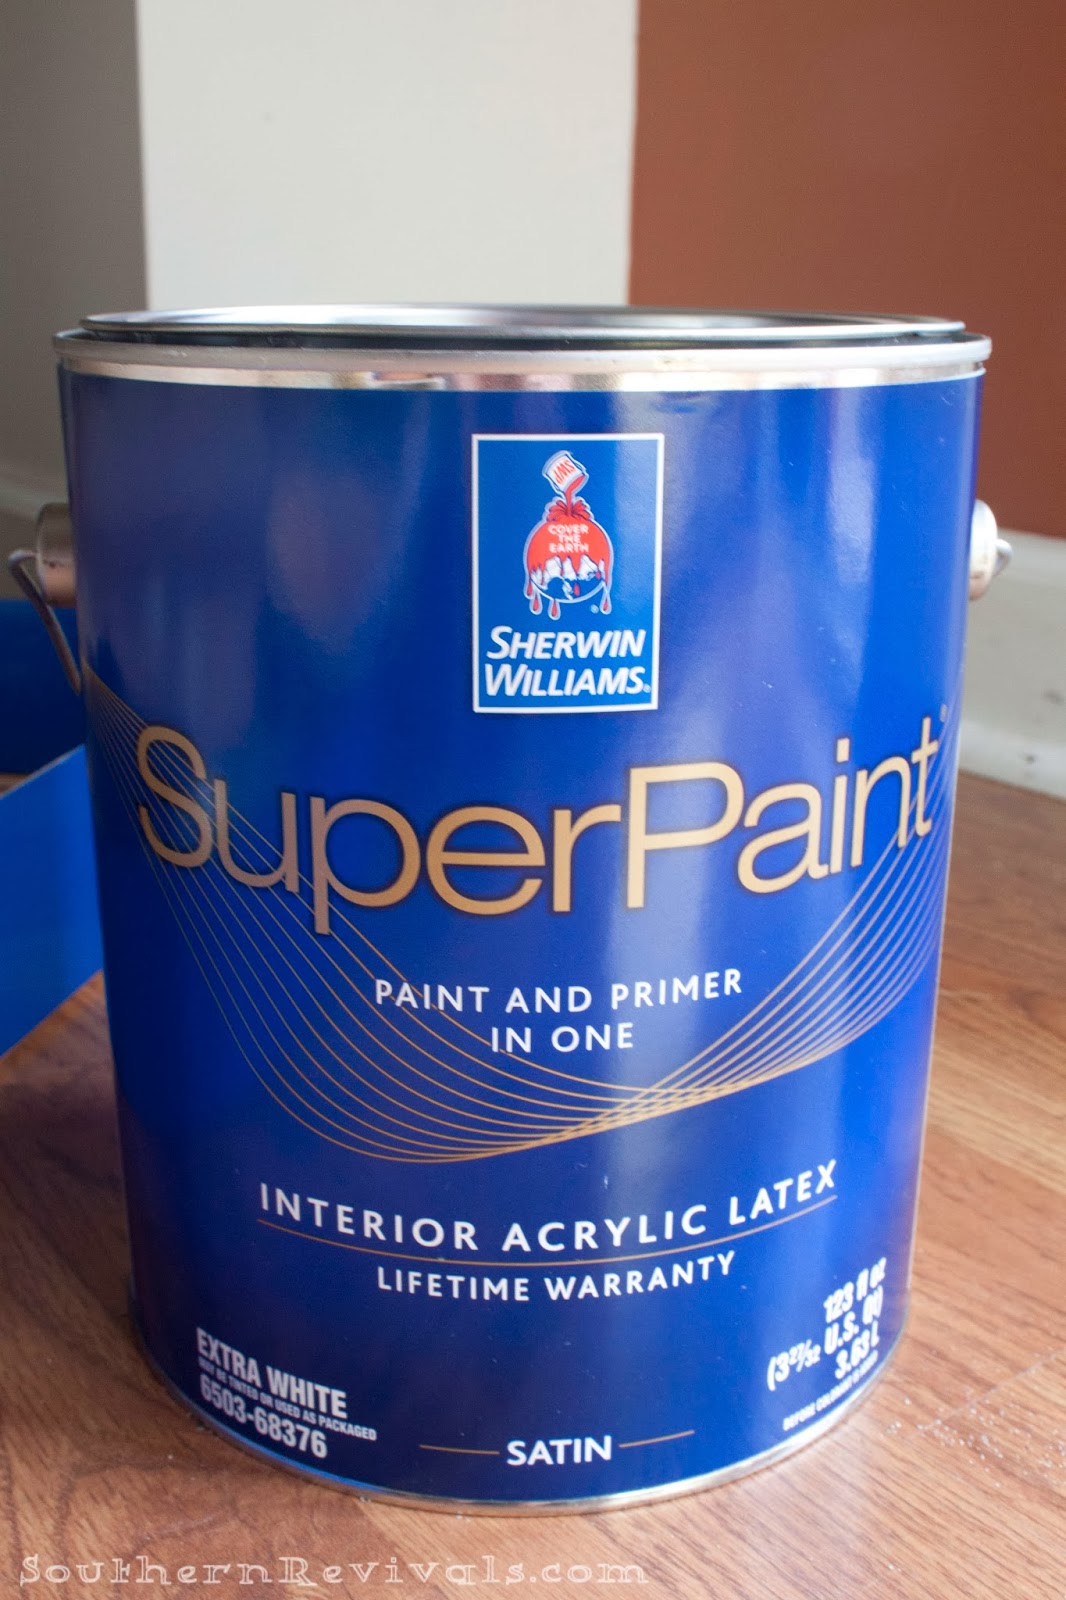
I went with Sherwin Williams’ SuperPaint for that. More on this decision later.
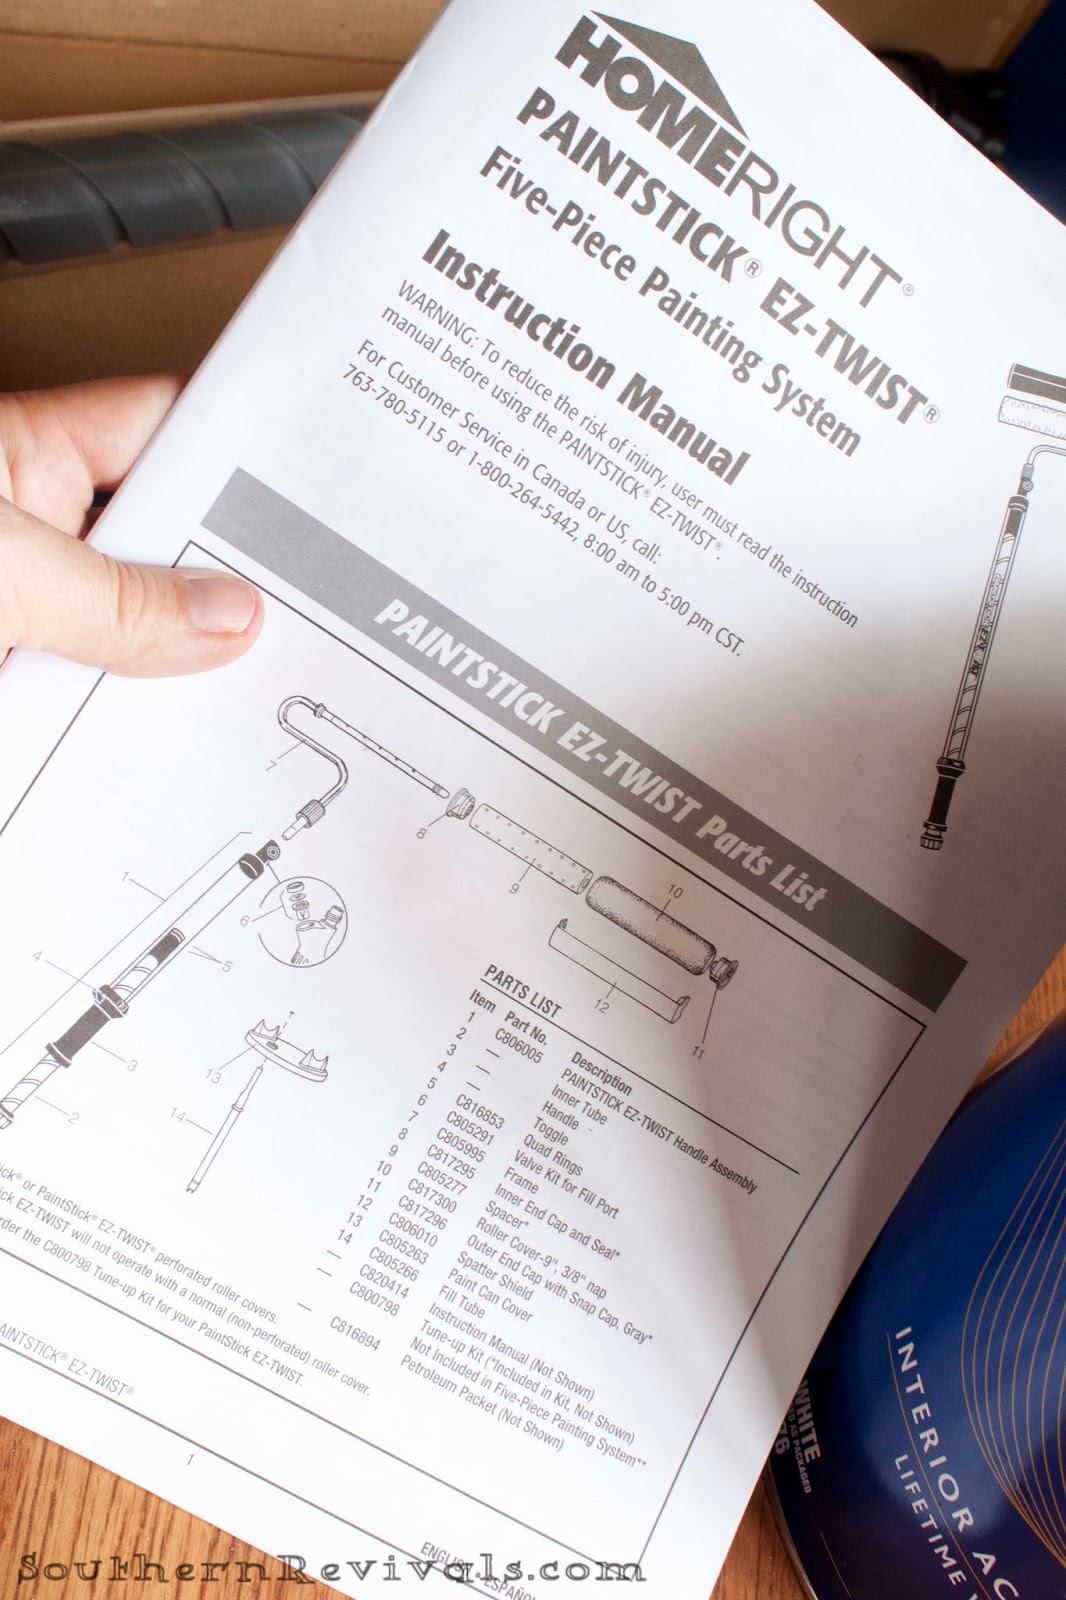
I hate reading instructions. Truly.
The instructions were quick, easy and painless. Took me about 5 mins to get through them.
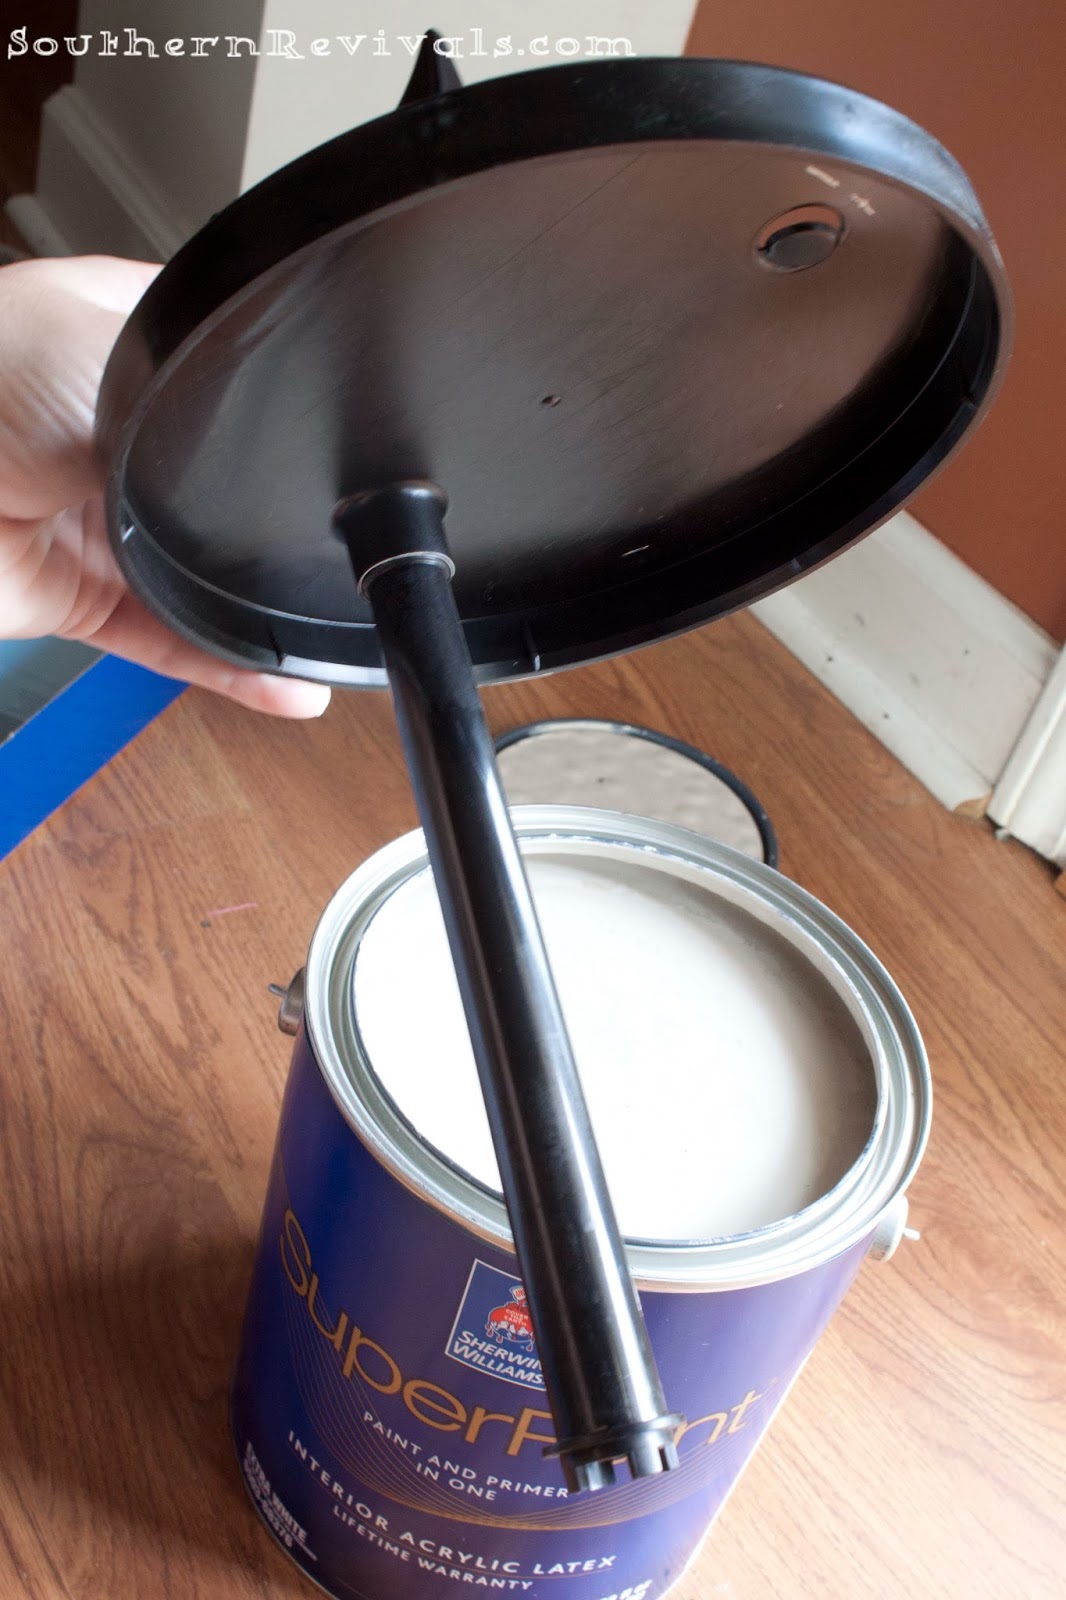
I put the fill tube up through the paint can cover.

Then I just placed it down into the paint and fitted the paint can cover securely over the paint can.
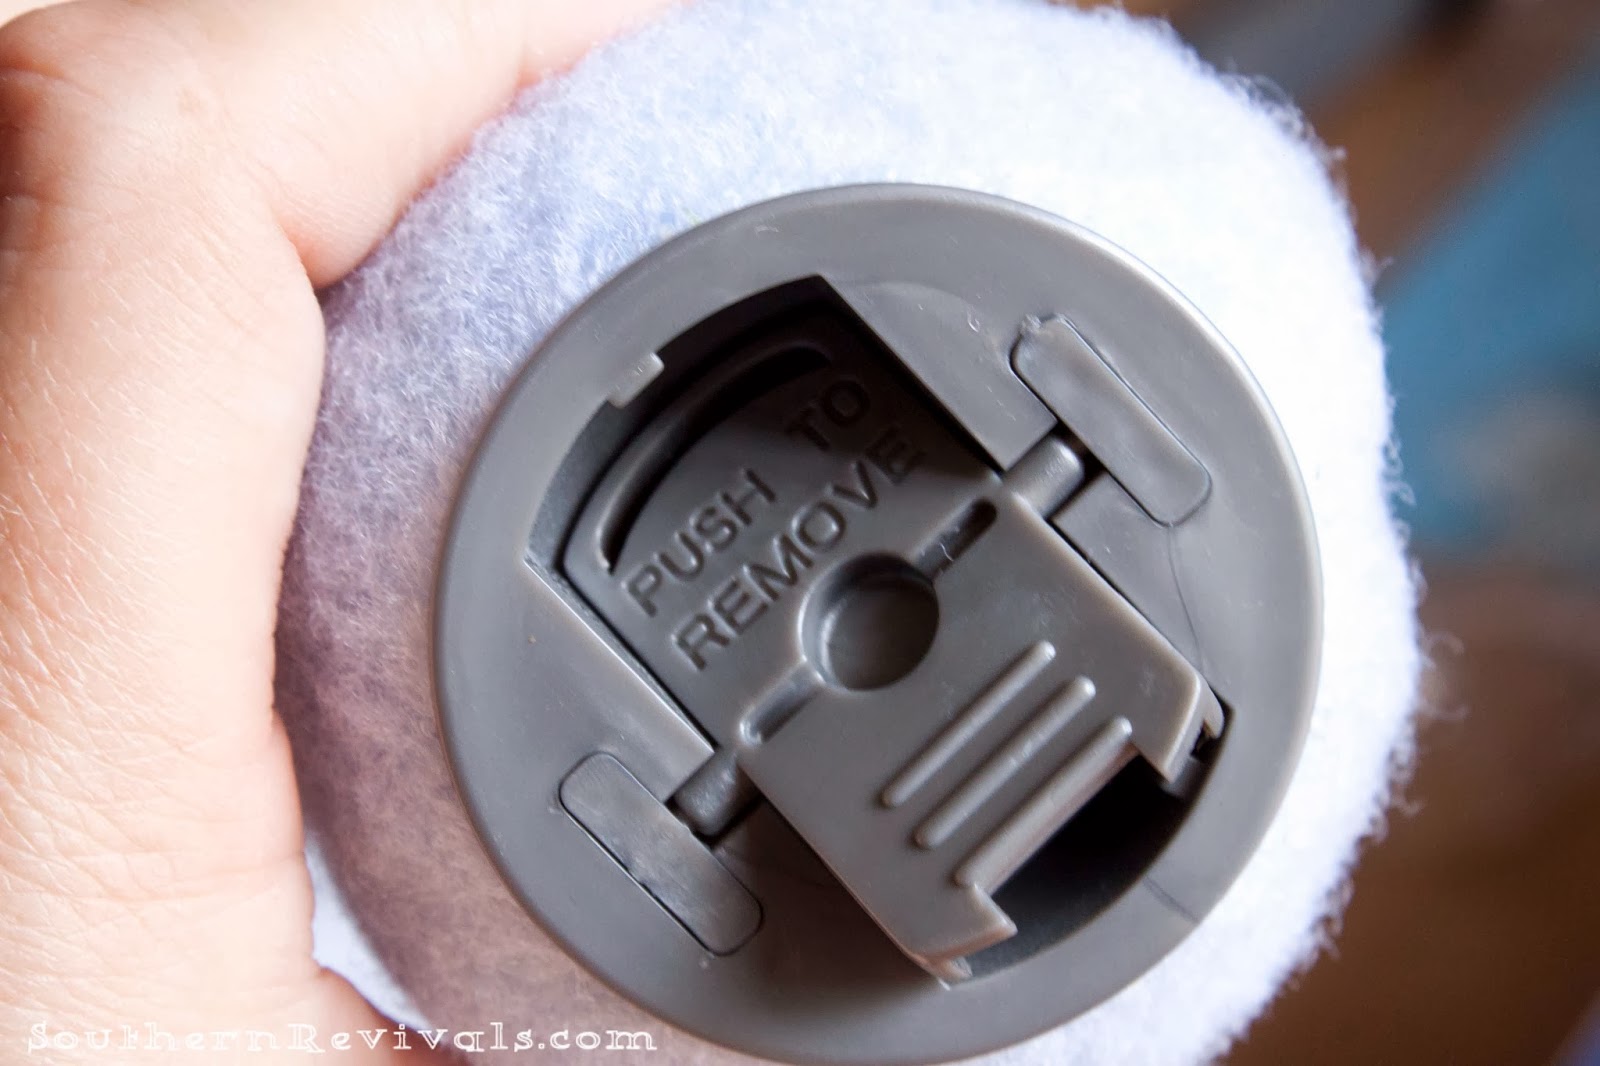
Now it’s time to place the roller cover on the handle. You make sure to push the outer end cap to the open position…

Then you slide the roller cover on.
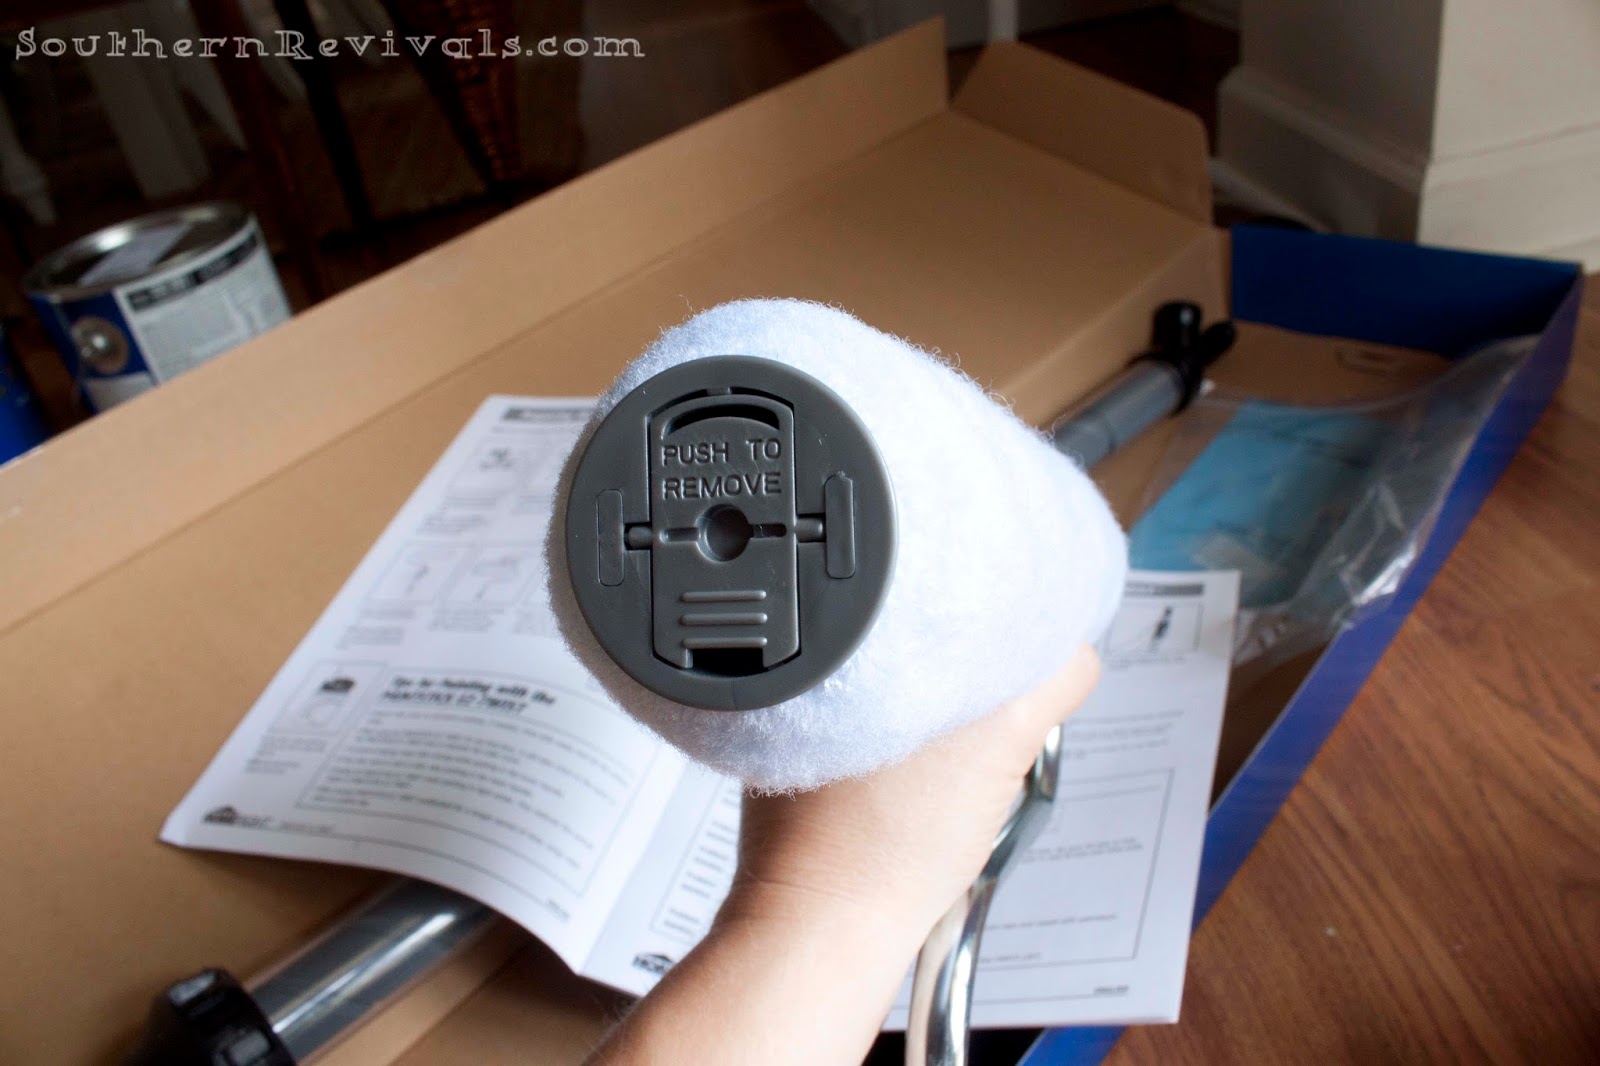
Push the button on the outer end cap again to lock.

Now you place the roller on the paintStick handle.
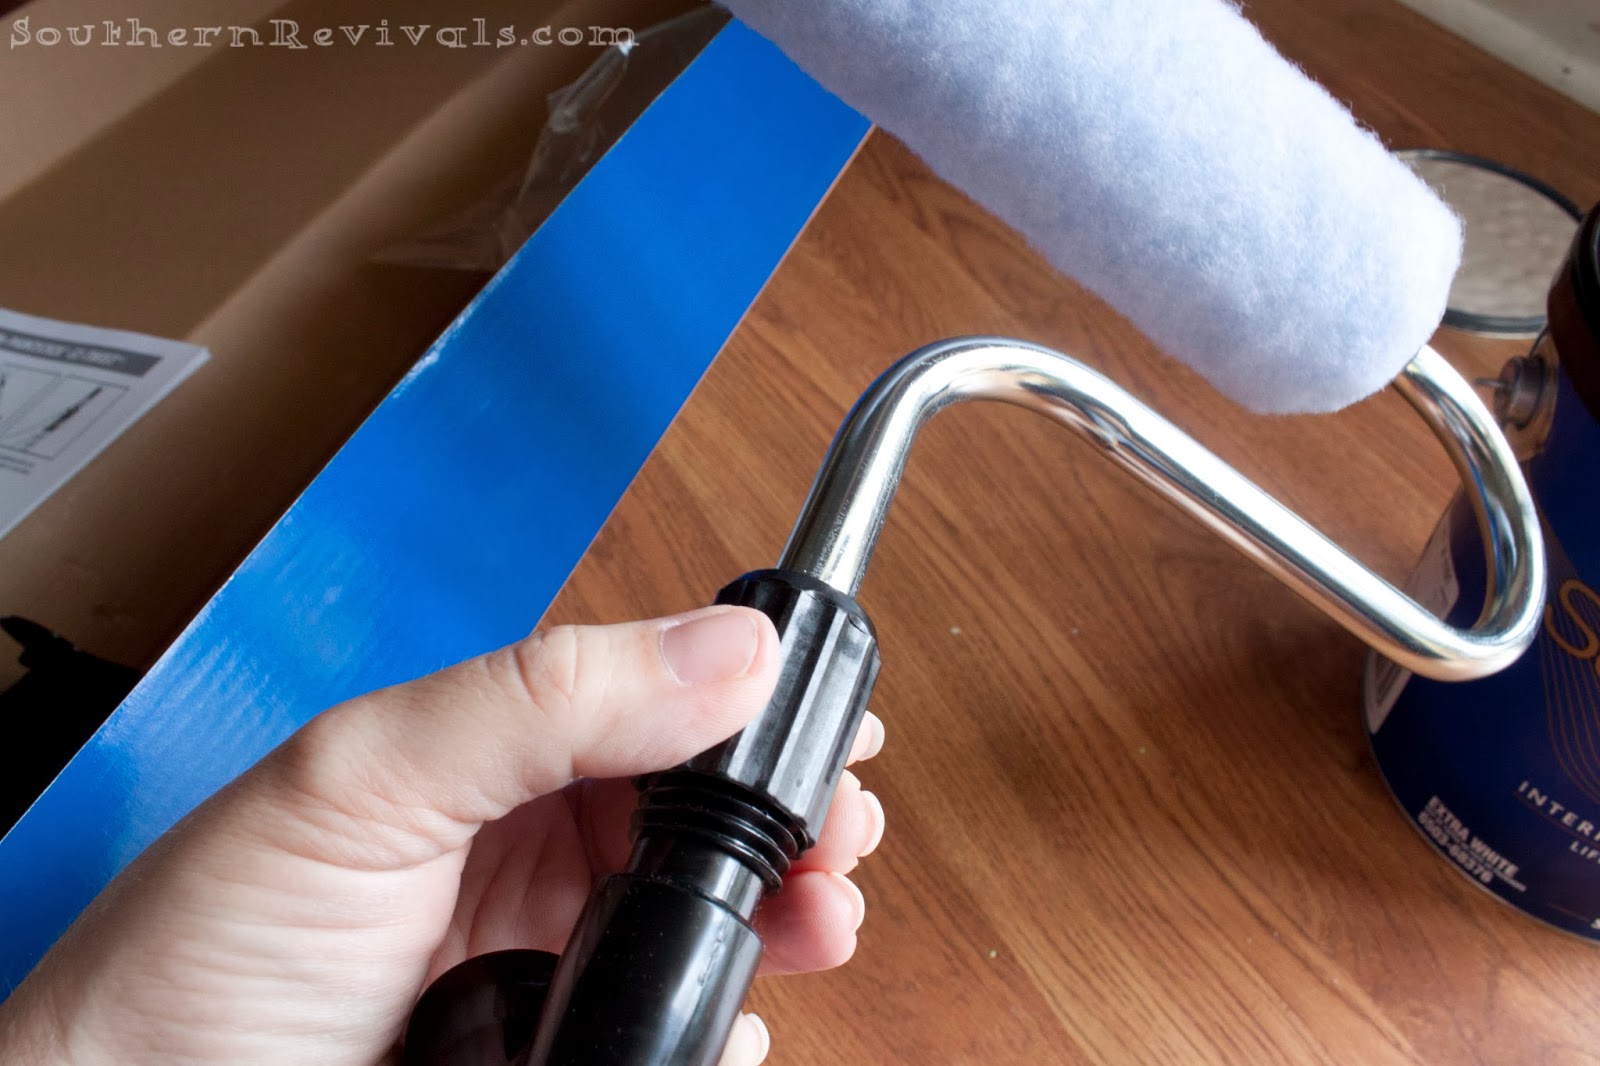
You’ll be tempted to continue screwing it on until all of the ridges are covered…

But don’t. Because of this metal ring here, this is as far as it goes.

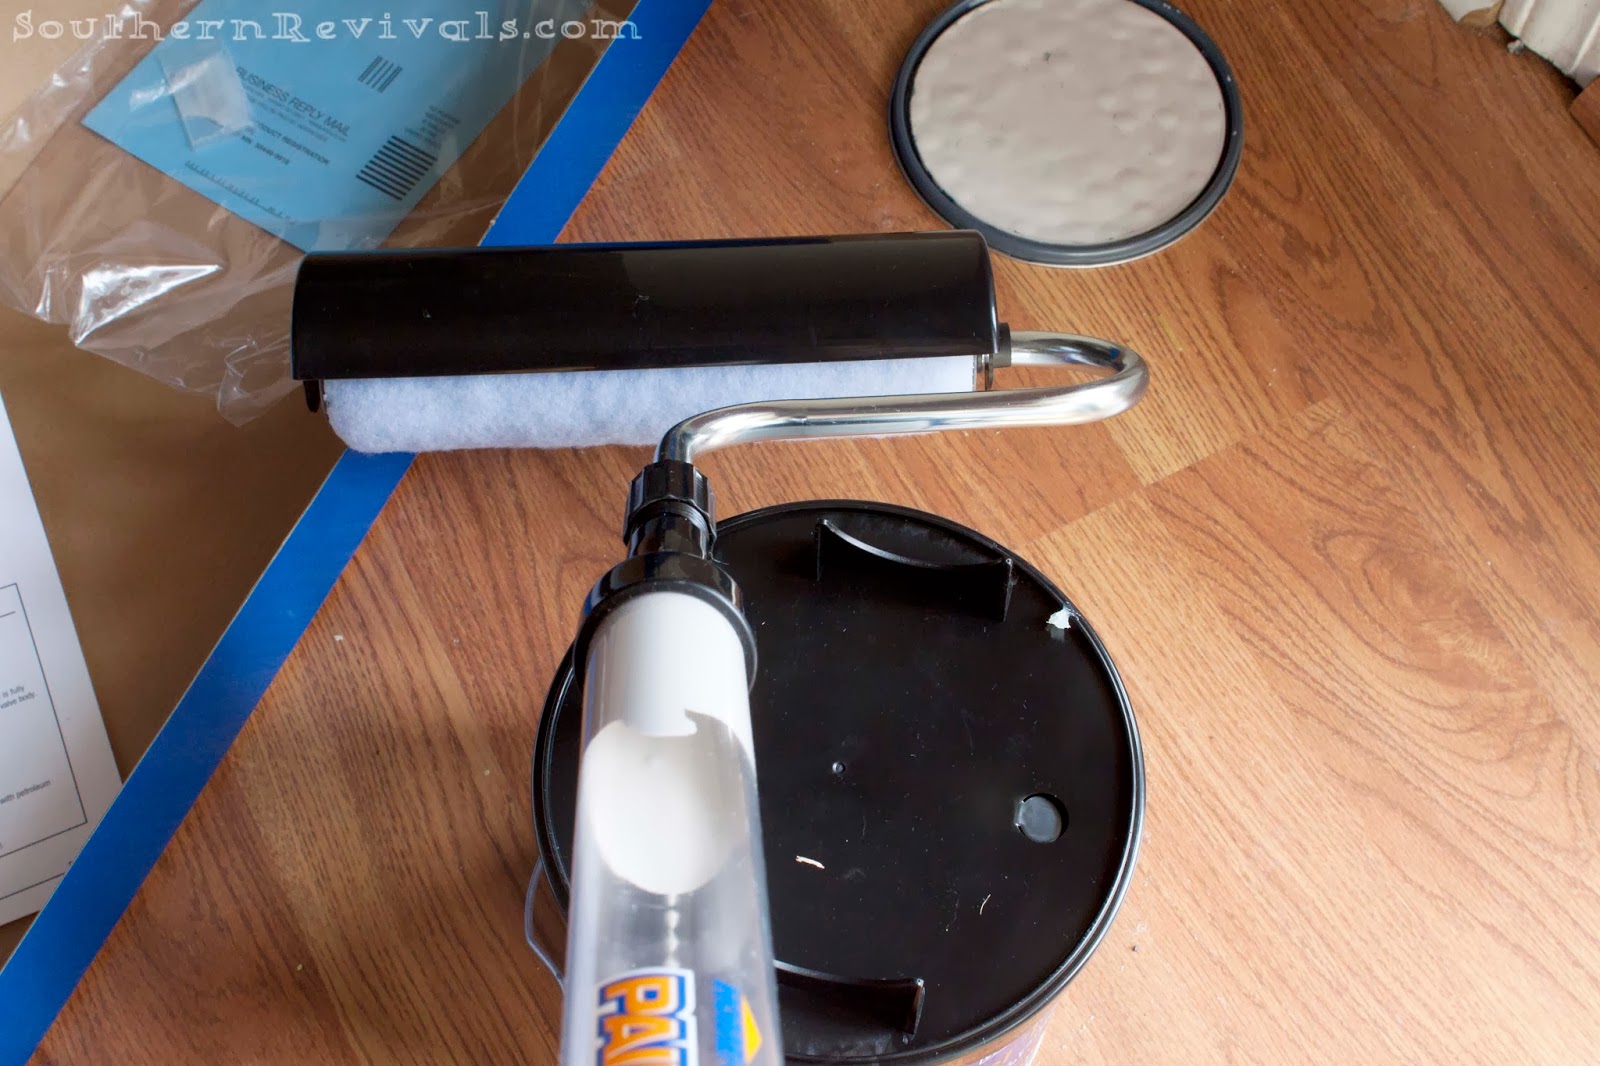
It will look like this once you’re done.

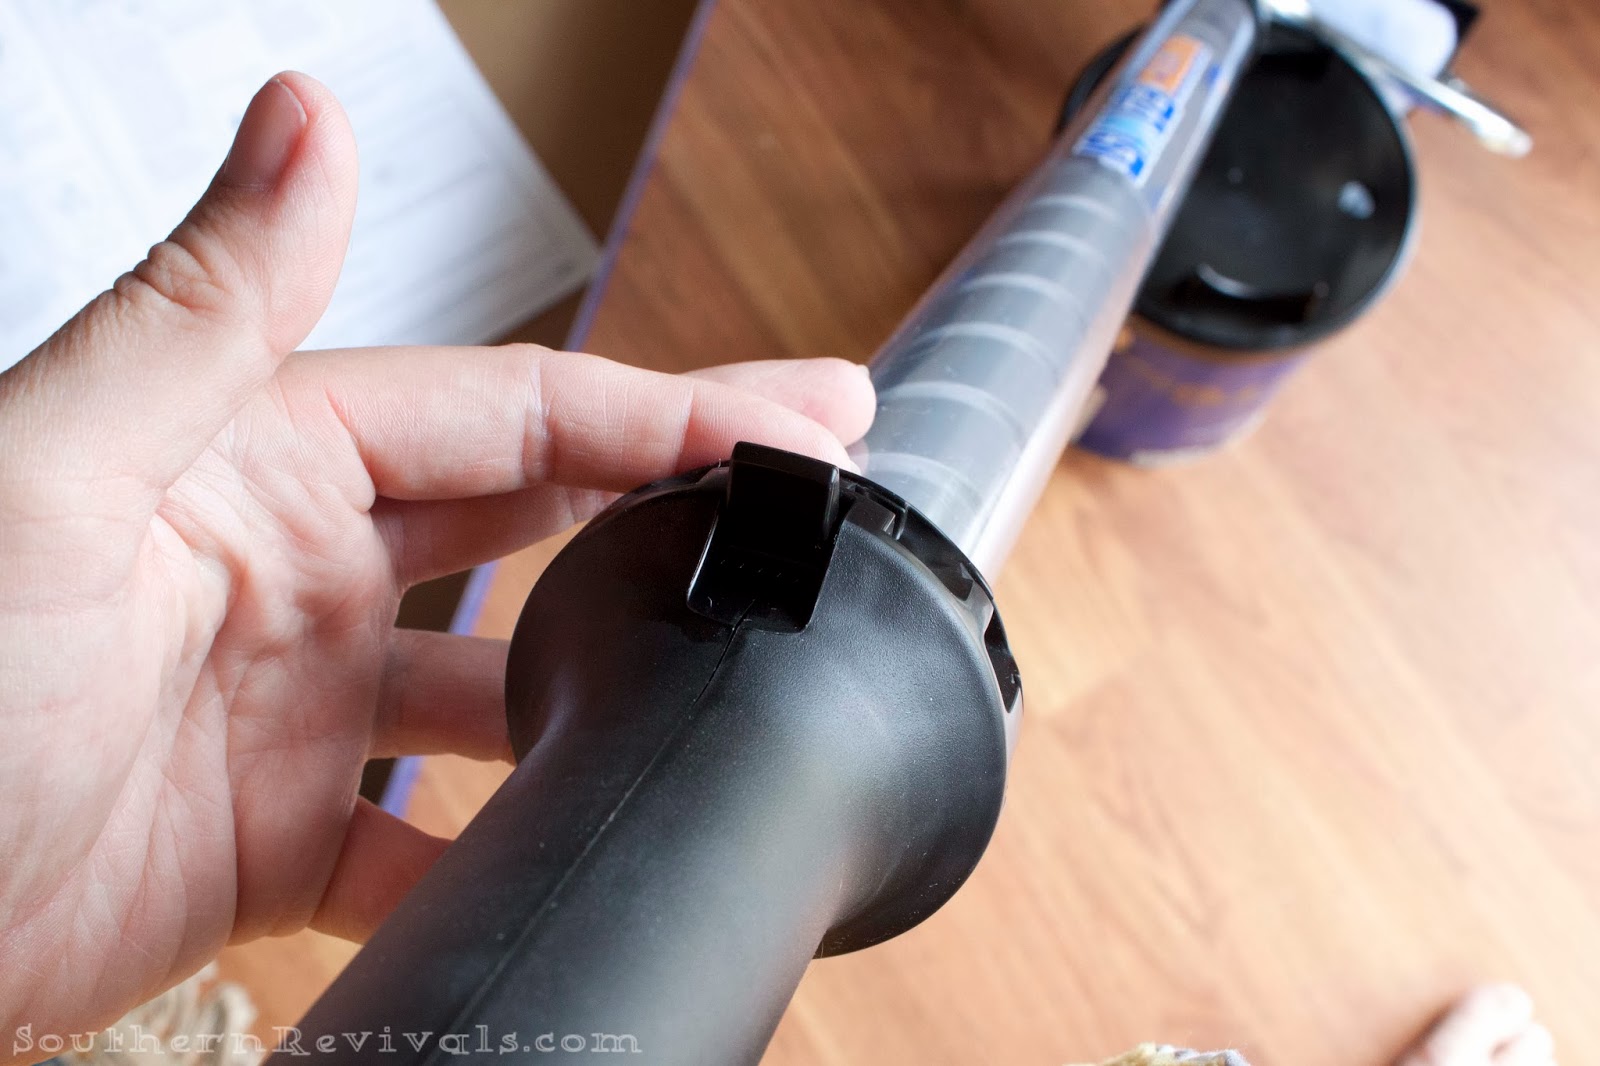
Now you can put on the roller cover. You’ll start as this end making sure the cover goes into the hole…

then snaps down onto the handle.

This thing really comes in handy to keep you from accidentally painting your ceiling and for keeping down splatters. I used it for a little while but then, because I am a rebel, I removed it. I found I could move faster without it. Just a personal preference.

It’s almost time to paint and you’ve only spent 5 mins prepping so far! (10 if you count reading the directions which you probably didn’t because you read this and figured you didn’t have to. Touche’!)
But still. You should.
Place the fill port over the fill tube at a 45-degree angle.

Flip this toggle switch here to the unlock position…
It will look like this.

Now you’re ready to suck up the paint into your amazing magical PaintStick. I swear. It’s exciting!
Gently pull the end, pulling the inner tube toward you.
You will see the PaintStick filling with paint. Crazy, right?!
Once you’re done pulling the paint up into the PainStick, gently lift it from the fill tube (be amazed once again as it doesn’t drip) and then be sure to put your toggle switch in the lock position.
Then you just twist the end of the handle to distribute the paint into the roller cover. It might take a minute to get used to but once you do, it’s on! Refill with paint in the same manner once the stick is empty.

It took me about 10 mins to do this whole room, which equals two walls.

The coverage was amazing. It was only barely necessary to do a second coat. And look how close I managed to get with this roller!
Trimming always takes the longest but when it takes just minutes to roll a wall, trimming suddenly doesn’t seem so bad.
There’s no need for drop cloths or rolling pans and there’s no mess to clean up. Once you’ve done the set up process the first time it’s a breeze the next go round and you’re painting in no time.
Someone specifically asked me about clean up and whether there was a lot of time involved with that. For me, because we were doing three rooms in the same color, I didn’t clean it out until I was completely done. I covered the roller, fill port and all, overnight with two plastic bags. I tied it at the bottom to make sure it was tight and stood it up in the corner until the next morning when I went back to painting. I never even changed my roller cover.
{Please note: I don’t know what the manufactures take on this would be so please know that if you do as I did you are doing so at your own risk.}
Once our three rooms were complete, I followed the instructions for cleaning – which are essentially the same as the instructions for painting – and it was as good as new.
And the best part is – we did three rooms, two coats of paint – both roller and trim – in just one weekend with one roller cover and 2 gallons of pain. Having painted these rooms (foyer, living room and dining room) before I know that it required 3 gallons and I’m convinced the reason it didn’t this time is that there is zero paint wasted with the EZ Twist PaintStick. That’s a savings of $50 for one gallon of paint. Not to mention you no longer need to buy a paint tray. And can you ever find those around your house anyway or is it just me?


This thing looks cool! Do you have to re-use the roller or can you throw it away and buy new every time? I don’t like to have to wash all my rollers out. Call me lazy, but it never works the way I think it should!
You can absolutely change out the roller. It’s disposable just like the regular ones. 😉