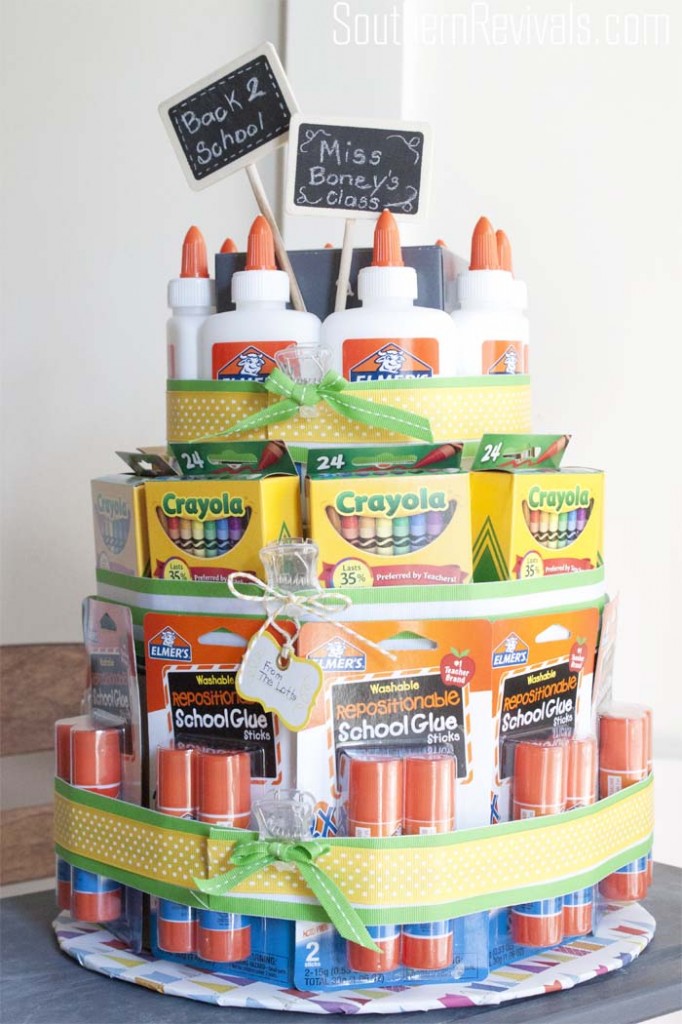
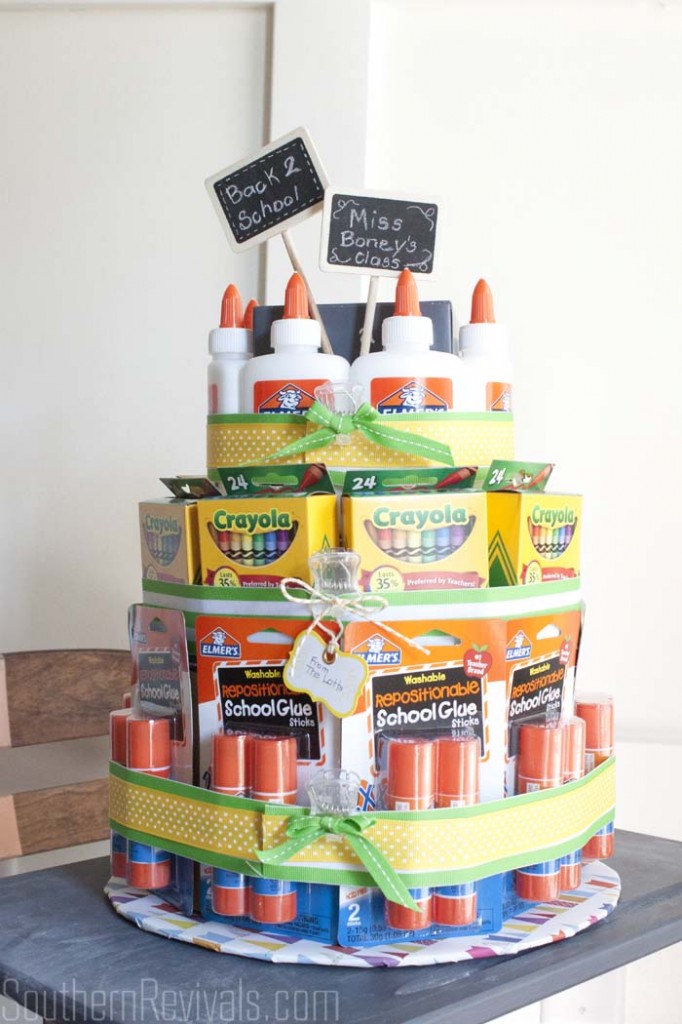
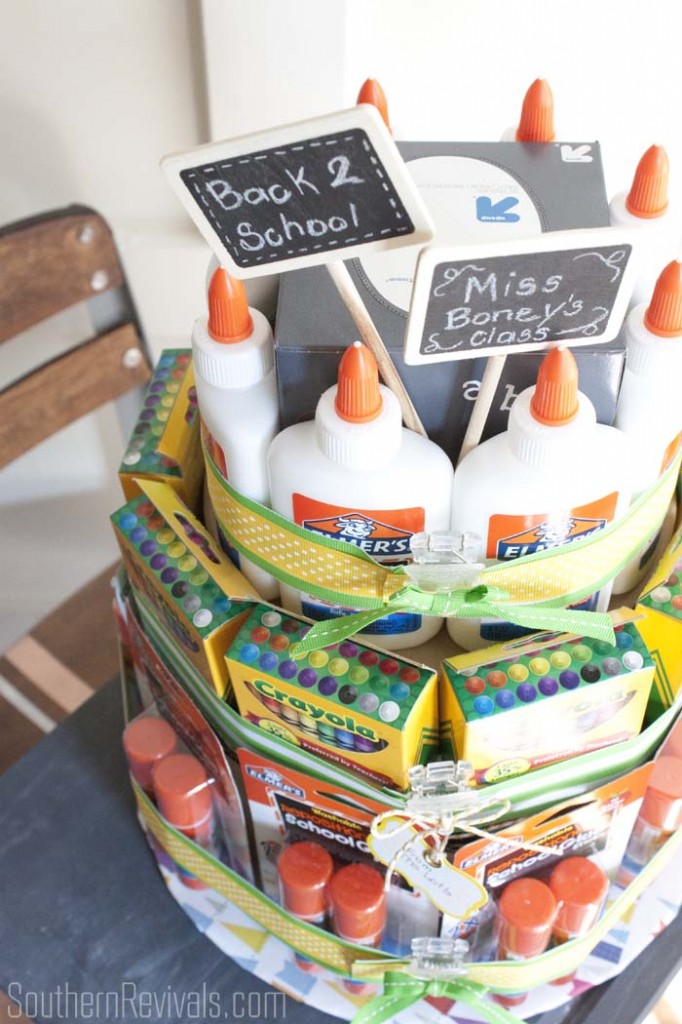
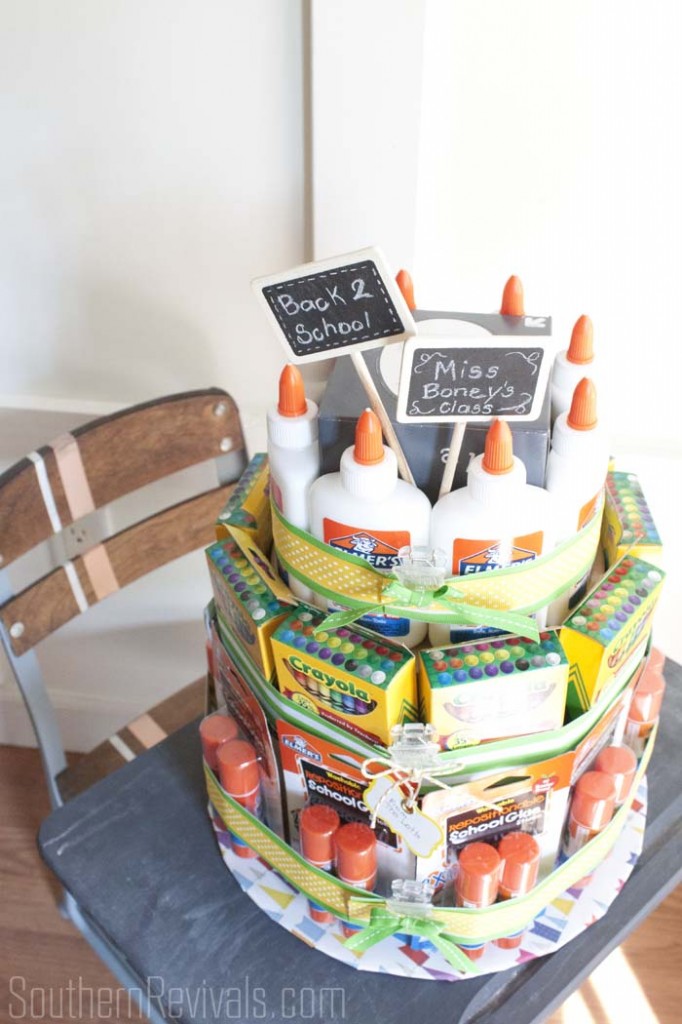
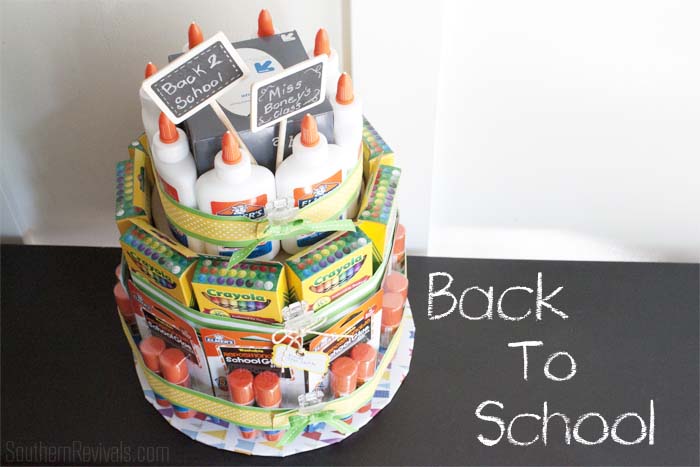
I cannot believe school starts for us in just a few short days. It’s back to school time already! Where did the Summer go? We certainly didn’t get enough pool, water park or beach time and I think I am the least ready to get back into a routine. But ready or not, here it comes. Luckily I am prepared with what I think is possibly the greatest teacher gift ever and one she will definitely, without a doubt, use! Here’s how we made our Back to School Supplies “Cake” – the ultimate teacher gift!
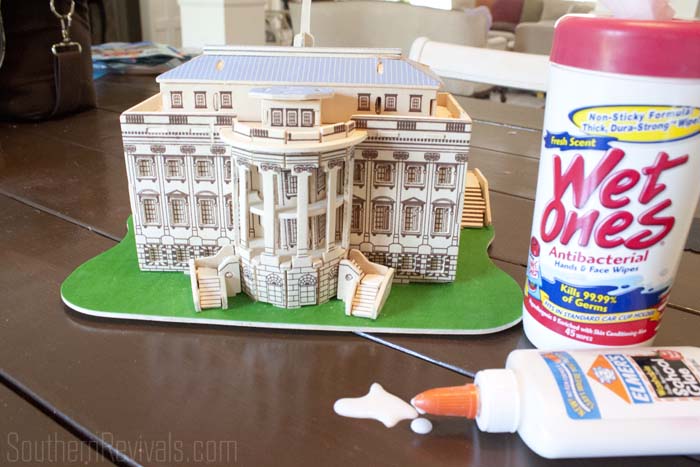
We are a crafting family. Whether or not my boys get it from their mom or whether it’s just a fun way to pass the time, we are always making something. You know, a 3-D model of the White House….or a mess!
There’s the inevitable argument about how to do the craft and I almost always have to walk away and cool down. Take the White House for example. I say, ‘You know, that wood is soft. You might not want to bang it together like that’.
CRACK!!
But mom, the woodworker, can’t possibly know what she’s talking about, can she??
Then a little while later, as father and son sit at the table together (because they argue less) neither of them can figure out how to make the roof pieces fit.
“MOM!!!!”
“Whoa! How’d you know how to do that?”
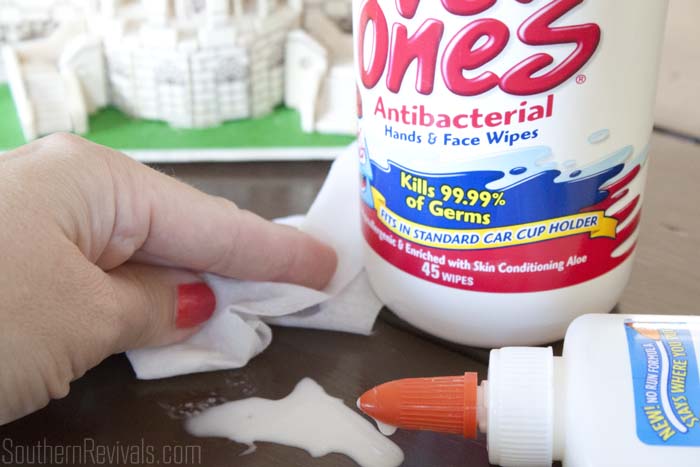
Well, I do know a thing or two (believe it or not) and one of the things I know is that even though creating always involves a clean-up crew it is always, always worth it.
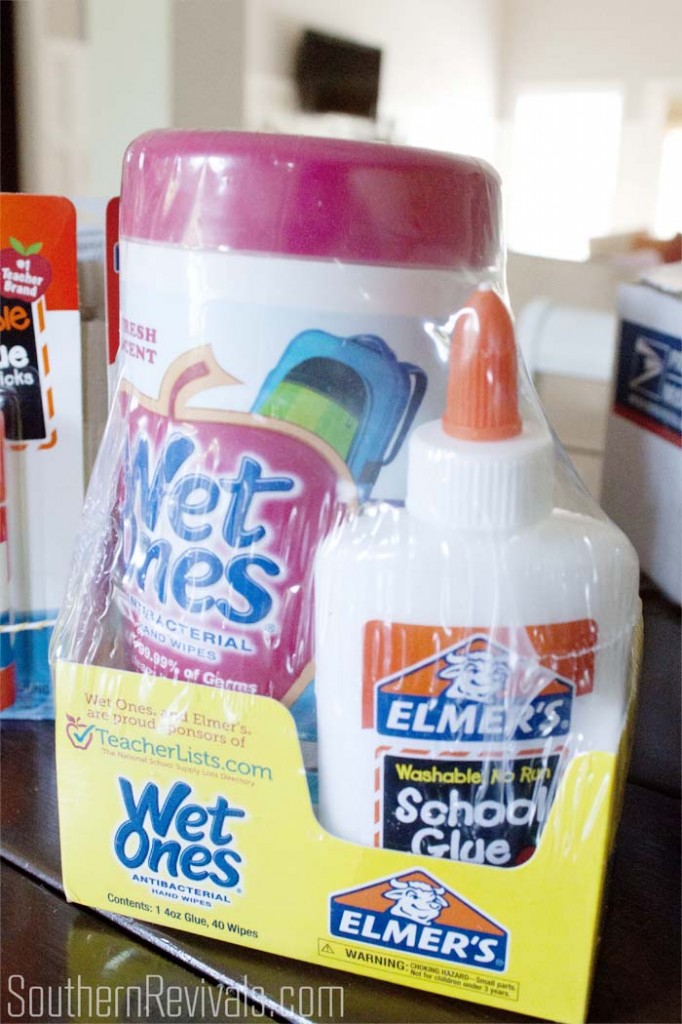
And whoever decided to package the glue with the wet wipes is a genius!
This stroke of genius is currently available in select Target stores in their back to school section and I can’t help but imagine there are plenty of teachers out there who could really appreciate this combo. I know I did during the white house argument fest craft.
Back in another lifetime, I was a preschool teacher. So I can tell you that while teachers love and adore any of the sweet little gifts given them, the best gifts are the useful ones.
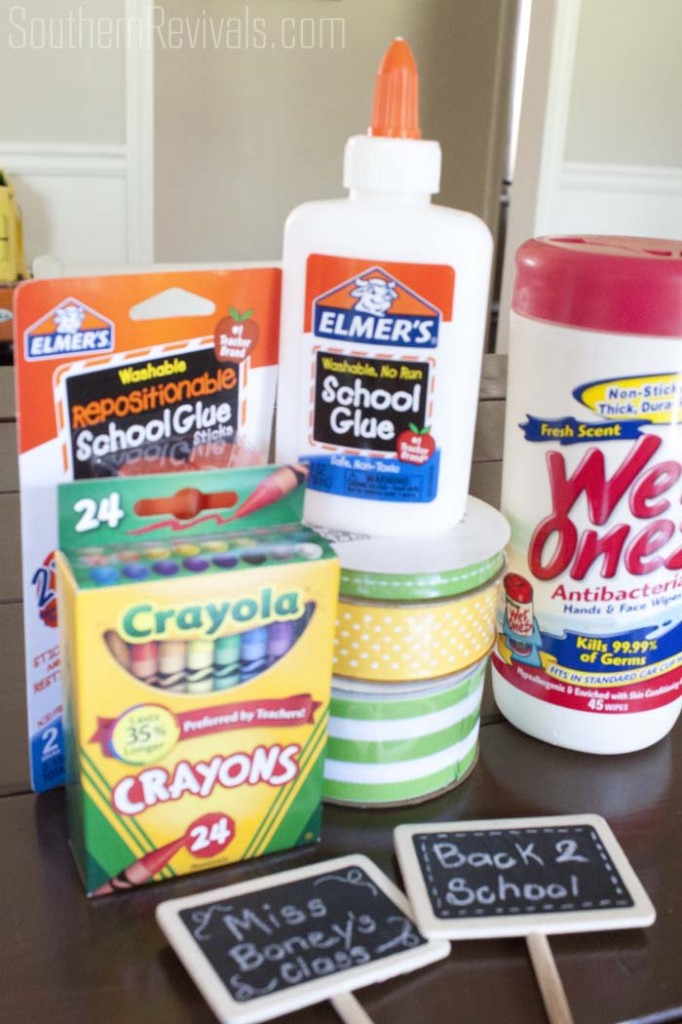
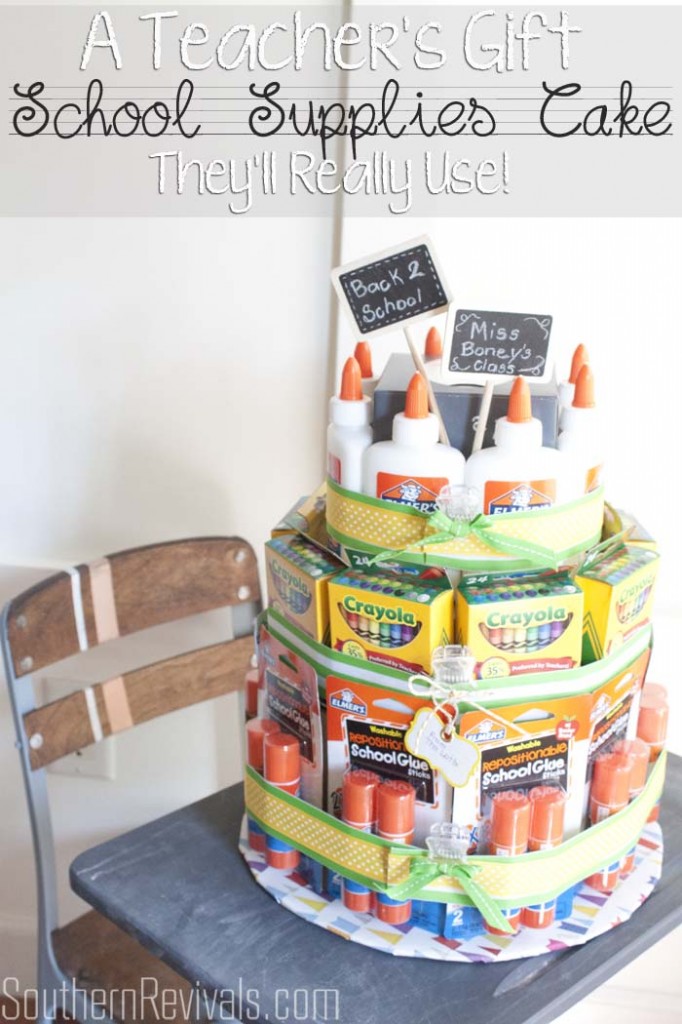
That’s why this year our teachers are getting what I think is the greatest teacher gift ever invented – and it’s useful, too. {I might be biased, but still} Here’s what you need to create one of your own for just as much, or less, that you were going to spend anyway!
Supplies
- Small box of tissues
- 1 – 8″ round (approx 3″ tall) box w/lid
- 1 – 10″ round (approx 5″ tall) box w/lid*
- 12″ cake board
- wrapping paper
- 3 yds ribbon
- 3 – file clips
- 8 glue bottles
- 9 boxes 24 ct crayons
- 10 2-pack glue sticks
- Elmer’s Glue & Wet Ones combo pack
Optional: Hot glue and chalkboard picks for decoration
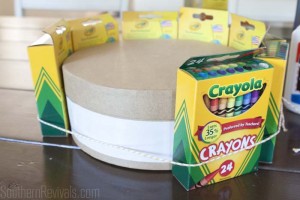
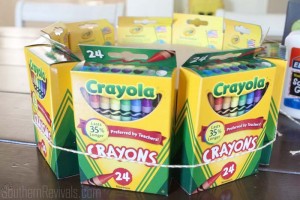
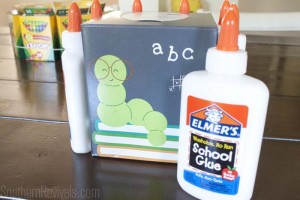
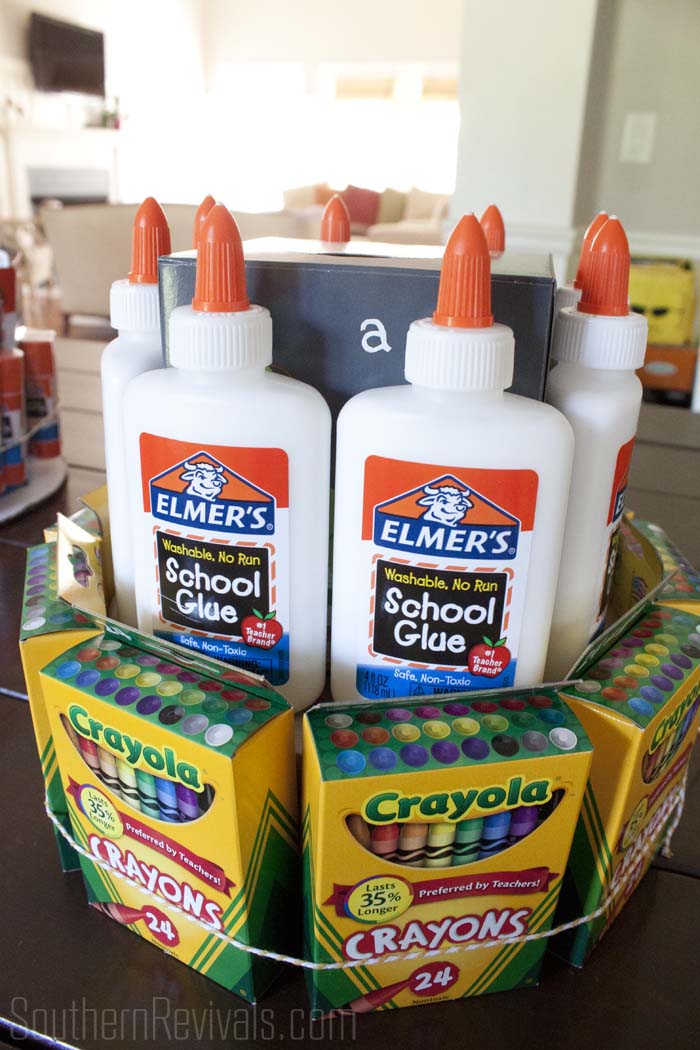
First I assembled the second layer of crayons around the 8″ box. Then I assembled the top layer, of tissues and glue on top of the first layer.
Pretty easy, right?
Here’s where what I did varies slightly from the directions I gave you above. If you’ve been following this blog for a minute you’ll know that I am a BIG fan of using what you’ve got. And I also hate driving ALL over town trying to find all of the supplies needed for a project. Ideally, this project should be an easy one with you getting most, if not all, of the supplies from one store, two tops! But if you’ve already got something you can use on hand or you can’t find what you need, you can always make your own.
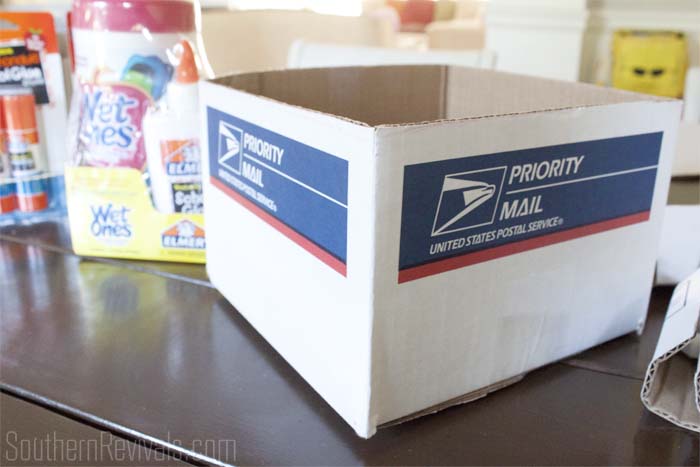
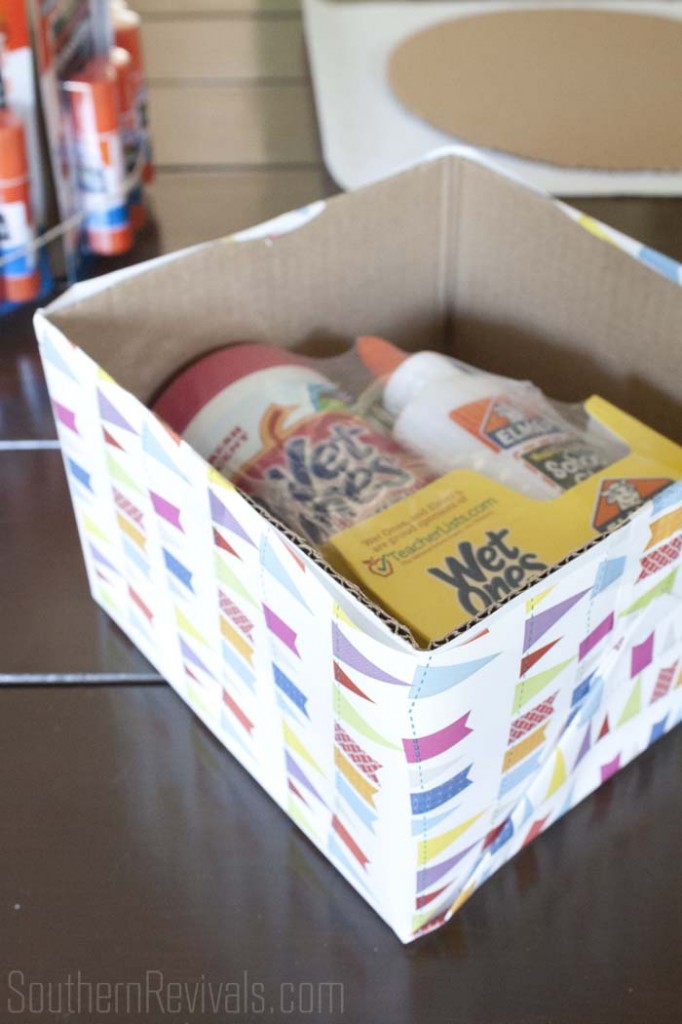
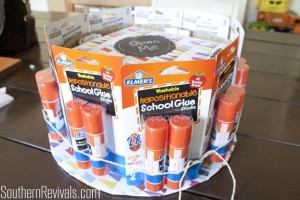
I trimmed down a used shipping box to about 5″ tall, making it the perfect size to place all of the taller glue stick packages around. Then I wrapped it in pretty paper and place the Elmer’s Glue & Wet Ones combo pack inside. I want this gift to be completely usable with almost nothing going to waste.
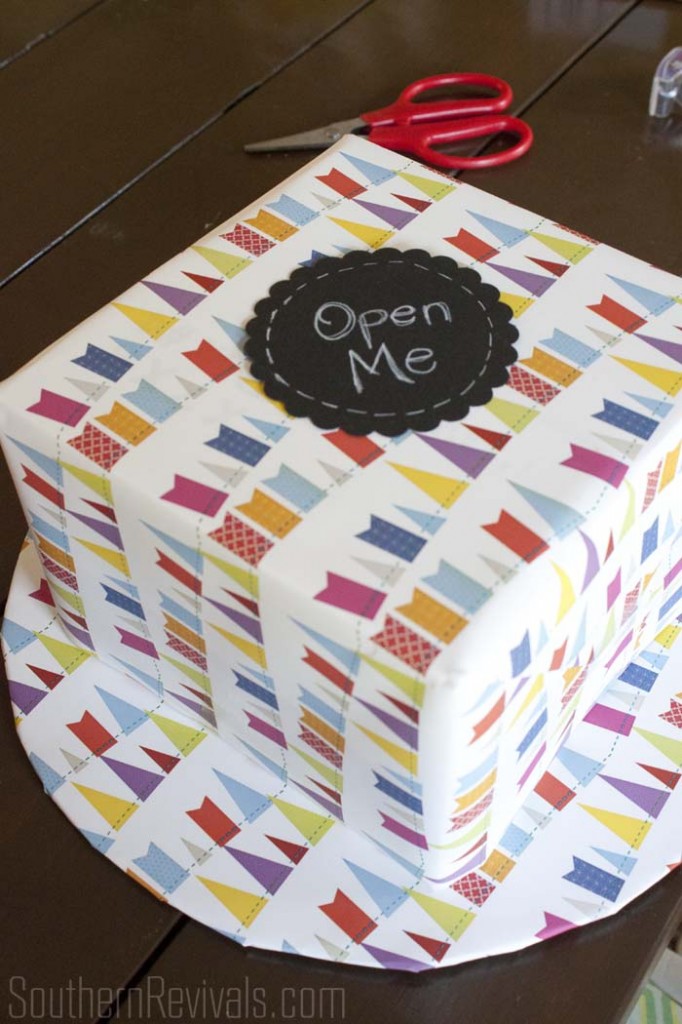
Once my box was wrapped I placed it on top of the wrapped 12″ cardboard cake board. I placed an ‘Open Me’ because I want her to know there’s more inside the box. You could also place another small gift inside the other box as well if desired.
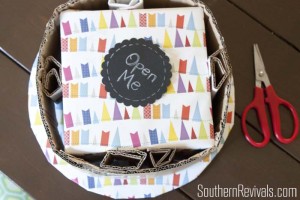
Because I went with the use-what-you’ve-got method, I had a little more assemblage to do than I would if have it’d used the boxes I recommended in the Supply section above. I created a round sleeve to go around my box and used the cardboard pieces I trimmed away from the box to “flesh it out”.
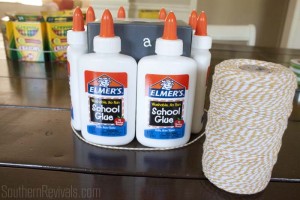
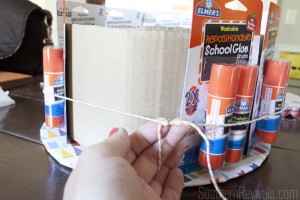
Another great tip is to use twine to hold your supplies in place while you’re putting the cake together. It kind of acts as your third hand. Once you put the decorative ribbon around the supplies you can just trim away the twine.
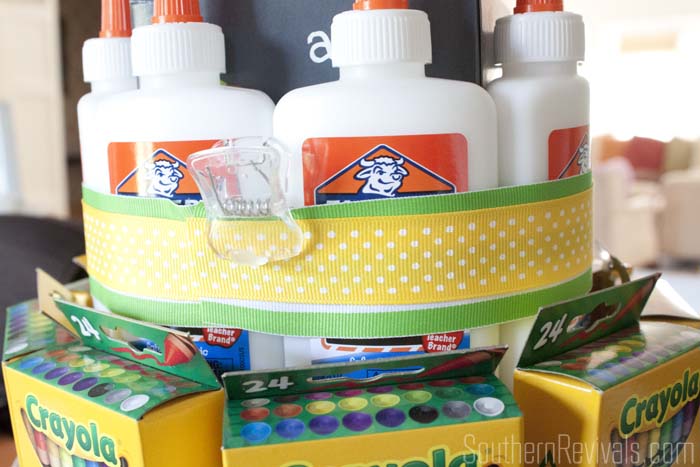
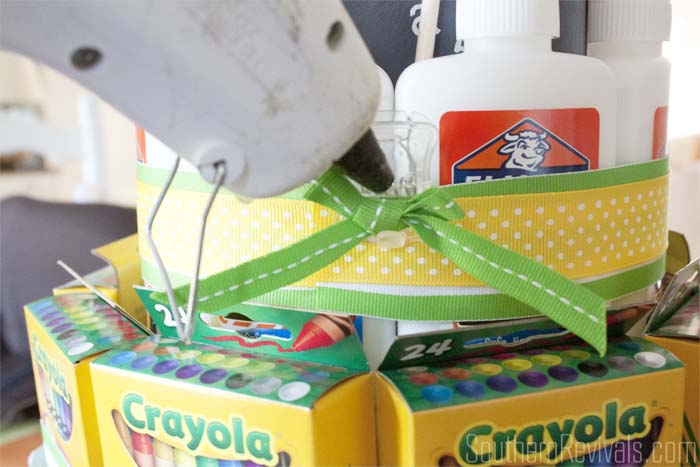
Once all of your supplies are on the cake you can use clips to hold the decorative ribbon in place. Then your teacher can use the clips and ribbon later.
I dressed up our clips with a little ribbon and hot glue. And since we’re talking about hot glue I should mention that I did not glue anything else on the cake because I wanted her to be able to take the cake apart and all of the pieces be usable. You’d be surprised how well it held together without the need to glue anything down.
And that’s it! The ultimate-guaranteed-to-be-used teacher’s gift!
If you like you can add some decorative chalkboard picks with your teacher’s or school’s name.
Now you’re all ready to head back to school. And if you’re interested you can find the vintage school desk makeover, here.
Have a great school year!

What an adorable idea! Love this. Pinning it!
Thank so much!!
OH my goodness! This is adorable and you have all my favorite products in there! I work in preschool and I can’t tell you how much I would love this as a teacher gift. Awesome job. Love me some wet wipes. Have them in my car.
I didn’t realize you did preschool! I keep them in my car, too!
Absolutely too adorable! So cute!!! xx, b @being-bianca.com
Thank you so much!
I love this idea! Pinned it before I even finished reading the post. 🙂
Aww thanks Rachel! I appreciate that!
I am freaking in love with this cake Jamie! It’s so cute!! I can’t wait until next school year. I’m totally making this!
Well I love this comment! Thank you! 😉
This is so cool. I love this idea.
Thanks!